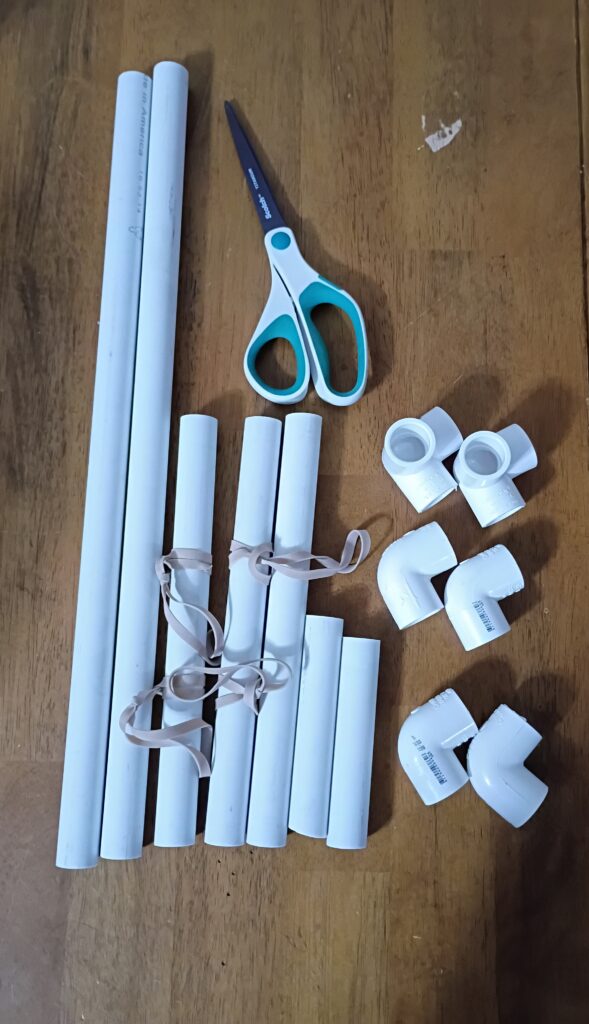
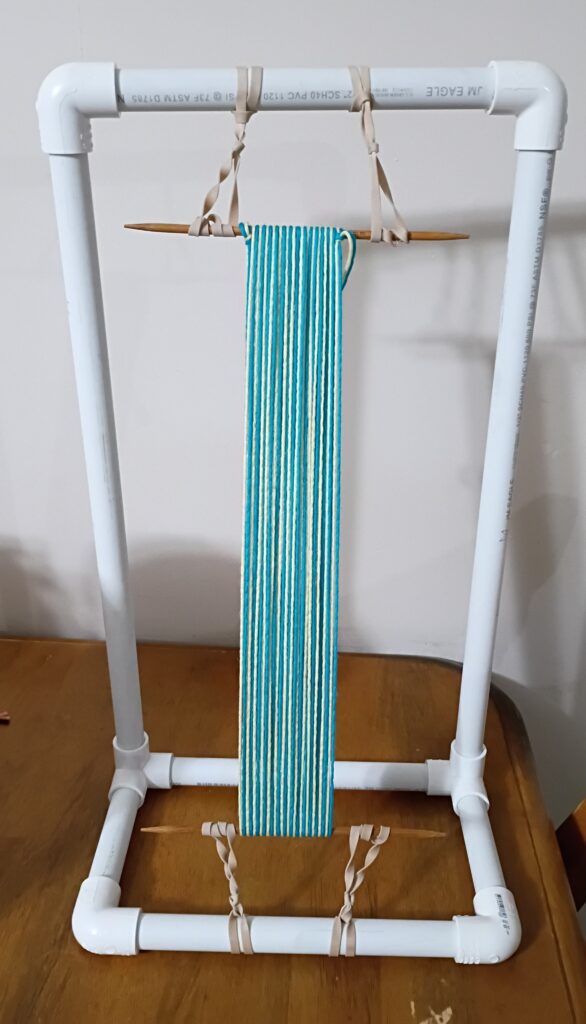
This post assumes that you have constructed a class sprang loom, and warped it in two colours, with 8 loops of each colour (or 16 loops total), with the colours alternating ABABABABABABABAB. For each of reading I will call these colours “light” and “dark”, and I’m also assuming the light colour is on the left. Each loop has a “back” and a “front” string; the bar on the top (or bottom) separates them nicely, but the front and back positions ae only relative and constantly subject to change.
This post won’t have any pictures until the class tomorrow, when I can take pictures while someone else is playing with the string.
Besides the warped sprang loom, what you will need handy is 4 skewers (2 used at the top, 2 at the bottom, and you can use more, but I like two), and eventually a long handled crochet hook, when your work is getting close to the center.
The loops are manipulated from right to left; they all start on your left hand and finish on your right, so your right hand is doing most of the work. I usually work with the thumb, index, and middle finger. On both hands, the index finger separates the front and back strings, while the thumb and middle finger are used as needed to control the strings.
The basic movement is what I call the push pull. (Books call it F/B or forward/back.) All work is done with the right index finger.
- Push the rightmost front string off the left index finger and behind the right index finger. Use the right middle finger to keep it in place.
- Pull the rightmost back string from behind the left index finger and move it in front of the right index finger, using the thumb to keep it in place.
- Repeat this pair of movements until all pairs have a single twist and are sitting on the right hand.
- Place a skewer both above and below your right hand, pushing them as far up and down, respectively, as you can, and remove your hand.
You have just completed a single row. If you kept repeating this row the loops would get twisted, but there would be no intertwining between loops to make fabric, so every second row you make one single change.
For the very first push pull, push two front strings from the left to back position on the right, and pull one back string to the front position. Now work everything in single string, until you reach the far left where you will have one front string and two back strings remaining. Push the front string, pull both back strings together. What this does is offset the twisting, so each front string will now twist with a neighbouring loop’s back string.
Note: I usually use 2 safety skewers one ecah end; once they’re both inserted, on the next row, when I need to insert a new skewer, I pull out the older skewer, and place it in place. This way I can always easily revert to the current or previous row by taking my hands out of the strings and using the skewer to separate front and back strings.
When you’re close enough to the center that you can’t fit your fingers anymore, use a crochet hook to mimic your right index finger, and work off the bottom skewer (which is mimicking your left index finger).
The easiest way to finish the center is to thread a string through the gap between front and back strings. Alternatively, you can use the crochet hook to hook up the strings. I usually work front and back separately; in front, put the hook under the rightmost front string, then hook the next front string under and around the rightmost string. This is your first loop. Now pull the next front string through this loop. Repeat until you reach the far end and tie the final loop off with a scrap piece of yarn. You can also hook the other side.
I use practice pieces to make pouches, so sew up the sides (or down from the top if you left nice long tails while warping) after folding the fabric in half. It will try to twist a lot; using skewers to “pin” the sides together can be very helpful. Then two drawstrings through the top loops (one exiting at each side) and you have an easily closing pouch.