‘Tis the day after Thanksgiving and it was more than time to unwarp the loom; I had tried to set up for some inkle weaving, but had horribly miscounted, and nothing was working right, and I’d put up the loom (on the top of a six foot bookcase so it would stop taunting me) until I was ready to face it.
And today it was finally cool enough on the porch to enjoy sitting outside in the fresh, fragrant air and unwind the warp onto four cones while admiring the lizards as they hunted bugs. The joys of living in the south definitely preclude snow.
![]()
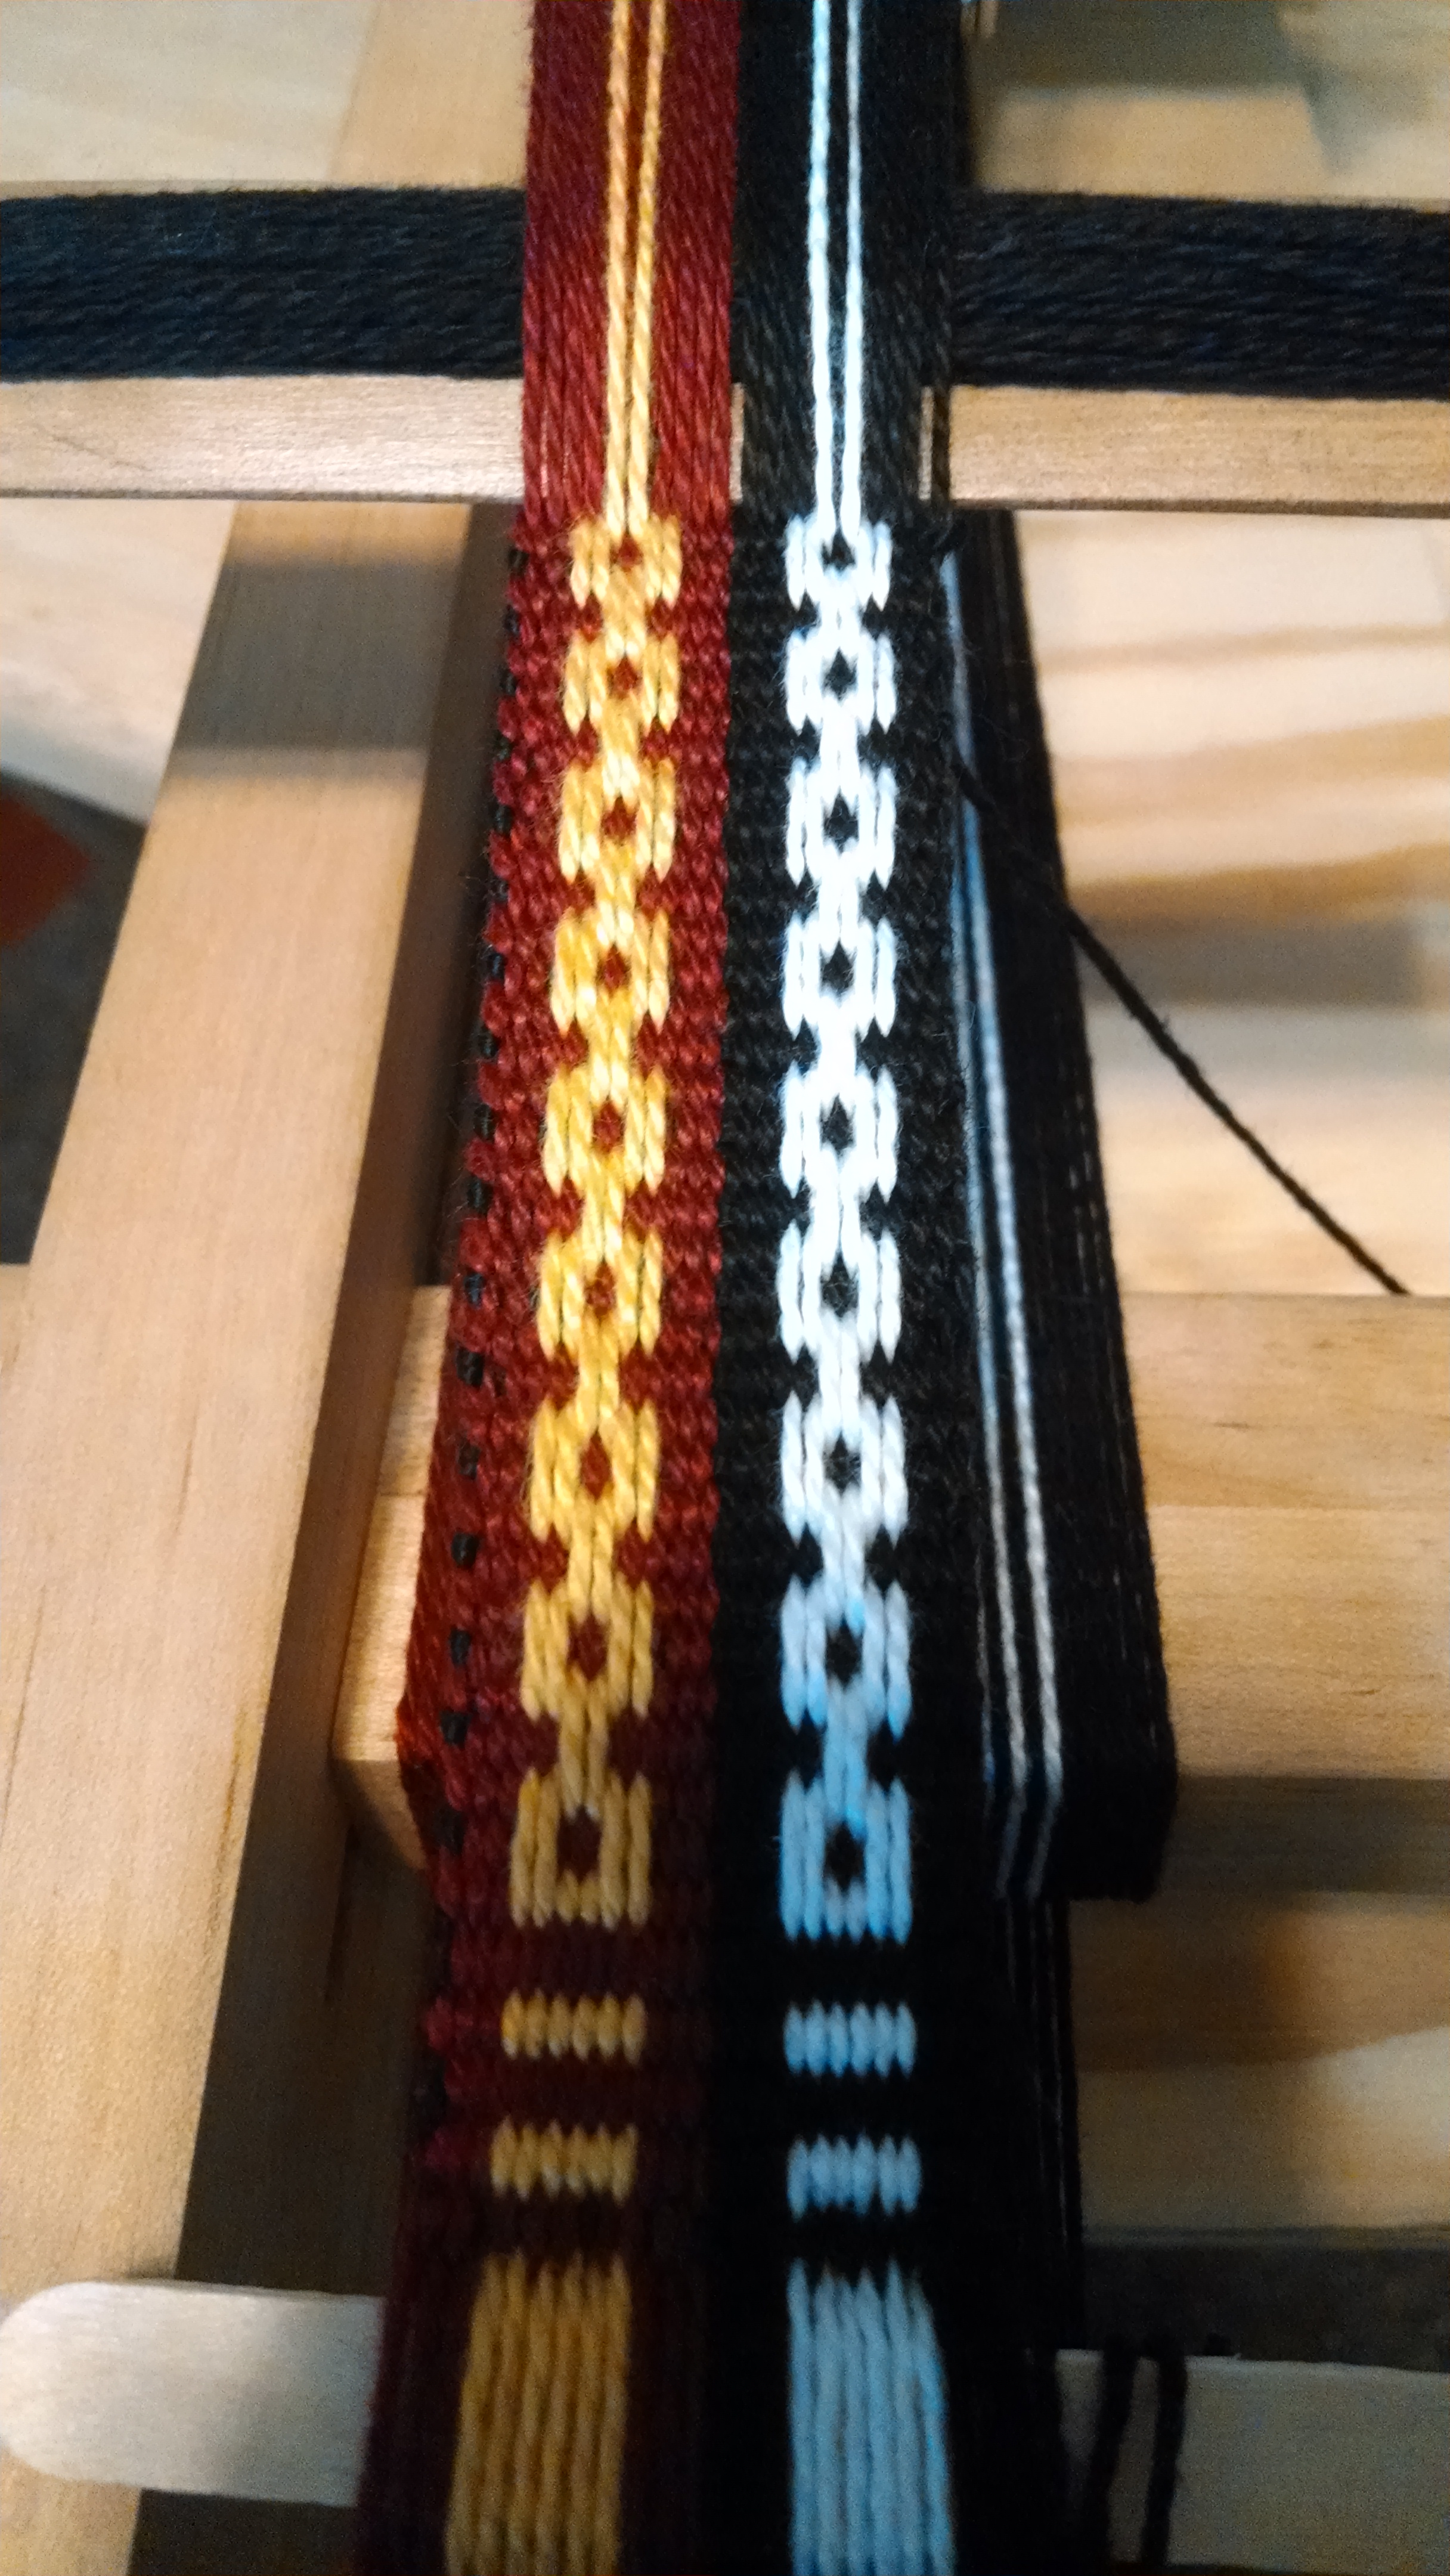 After unwarping, I warped up a simpler set-up as seen in this pattern. The yellow and white threads are the pattern threads, and the background is red and black. With simple inkle weaving I end up with short yellow and white bars on a red and black background.
However, add a few extra loops and we can turn this into something more interesting. One set of loops went around pattern strings 1, 2, 5, and 6 of each colour, and the other went around pattern strings 3 and 4. Now when inkle weaving, you alternately push the open strings below and above the heddled strings to make the shed. But to make this pattern, when the open strings are pushed down, the loops are pulled back up to create floats. By alternating between sets of loops, I could create squared off boxes, that look like chains if you tilt your head sideways a little.
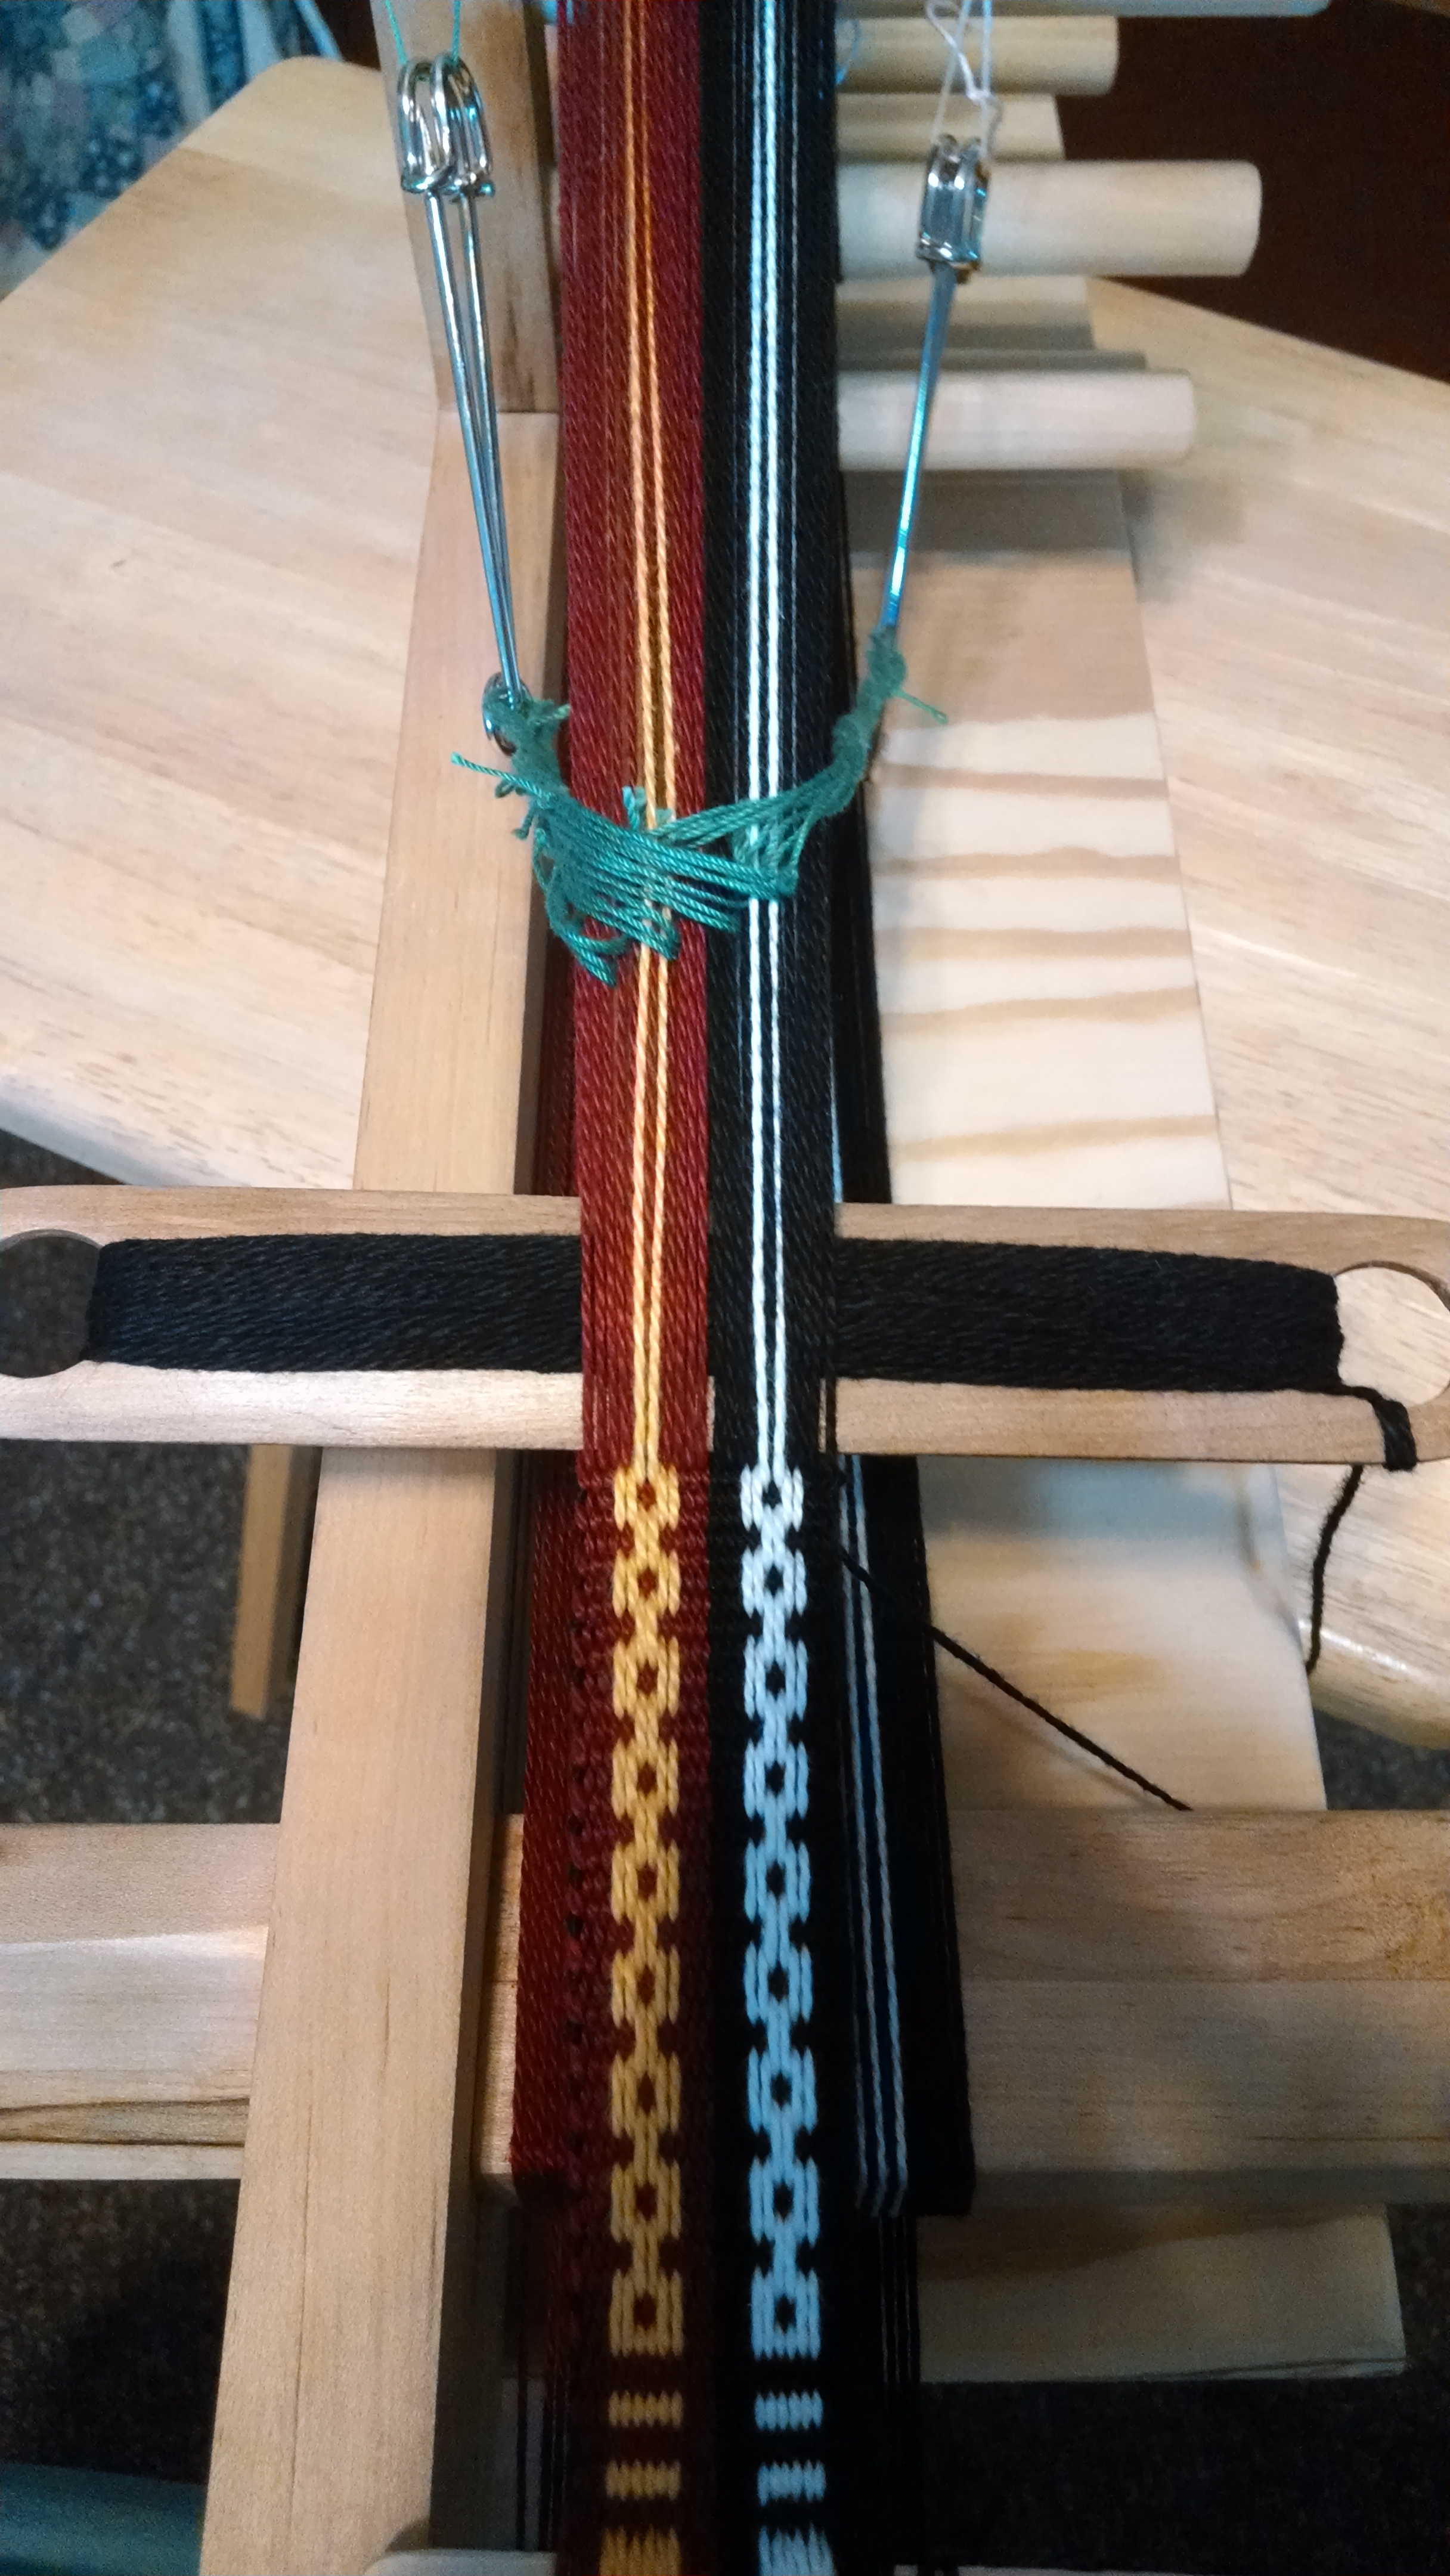 In this picture showing more of the loom, you can see how I’ve run large kilt pins through the two sets of supplemental loops so that I only have to grab one pin or the other as needed.
Now all I need to do is find a good tv-show to marathon, and I can finally finish this weaving project.