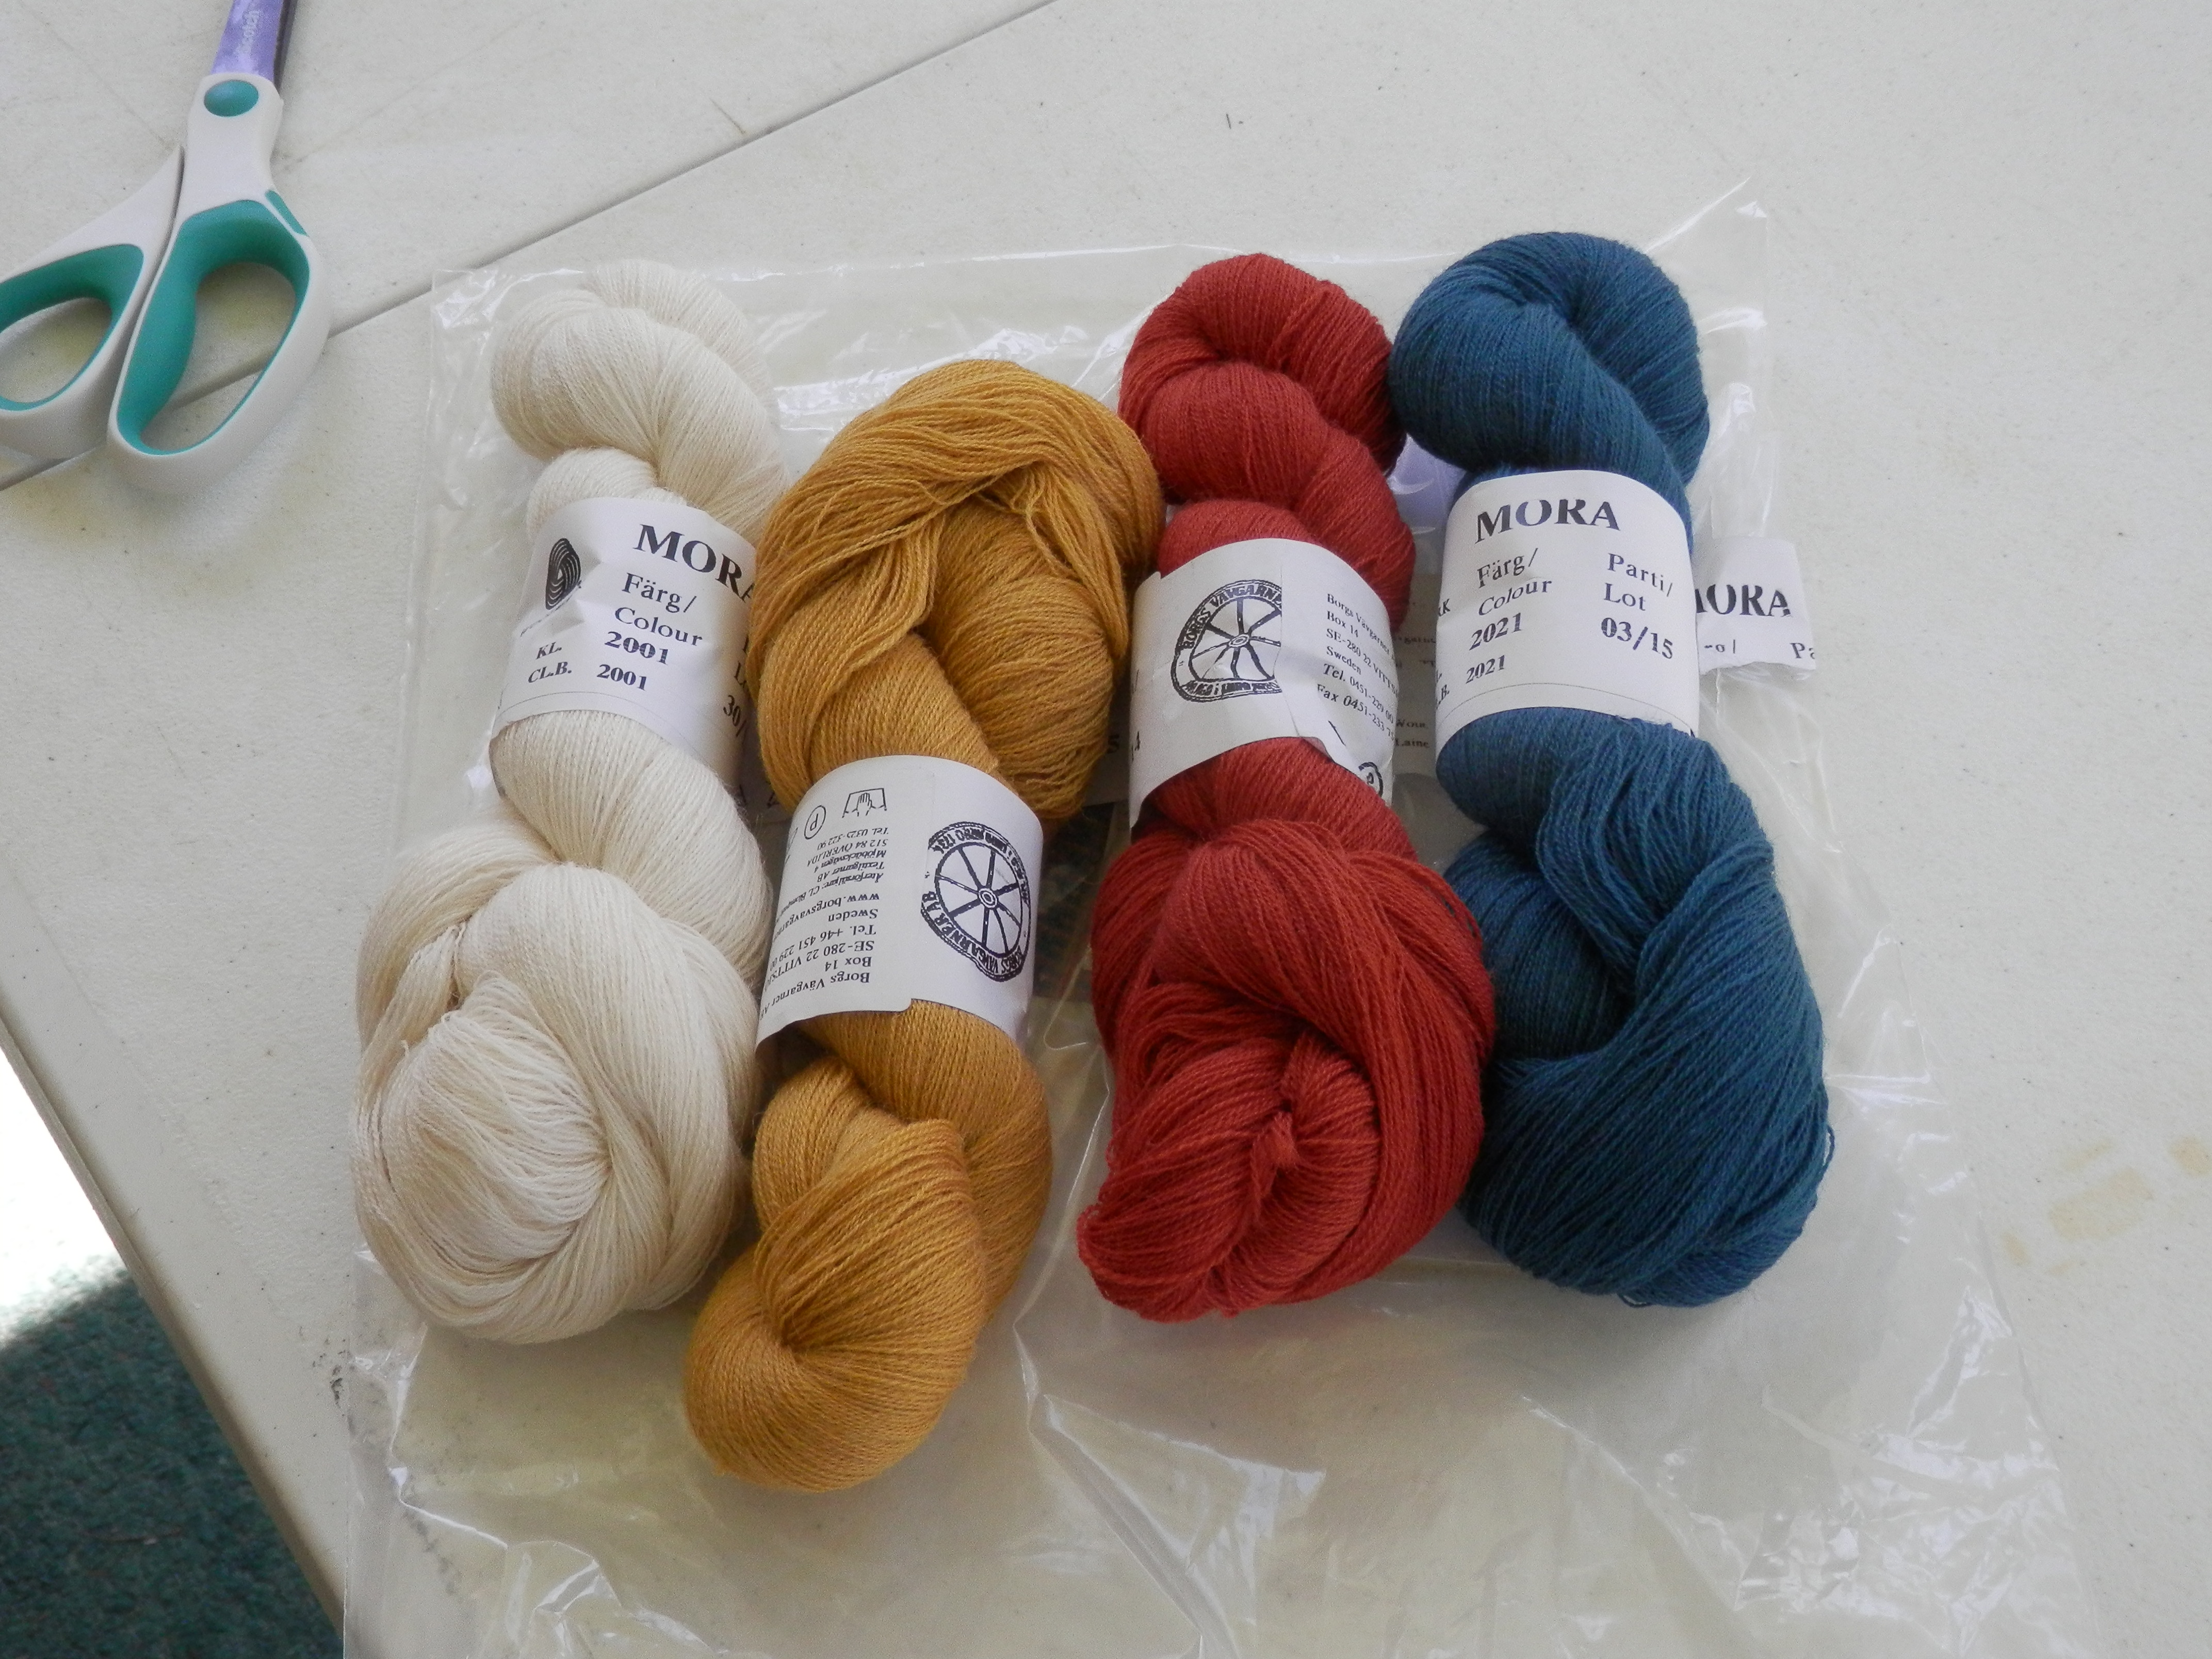
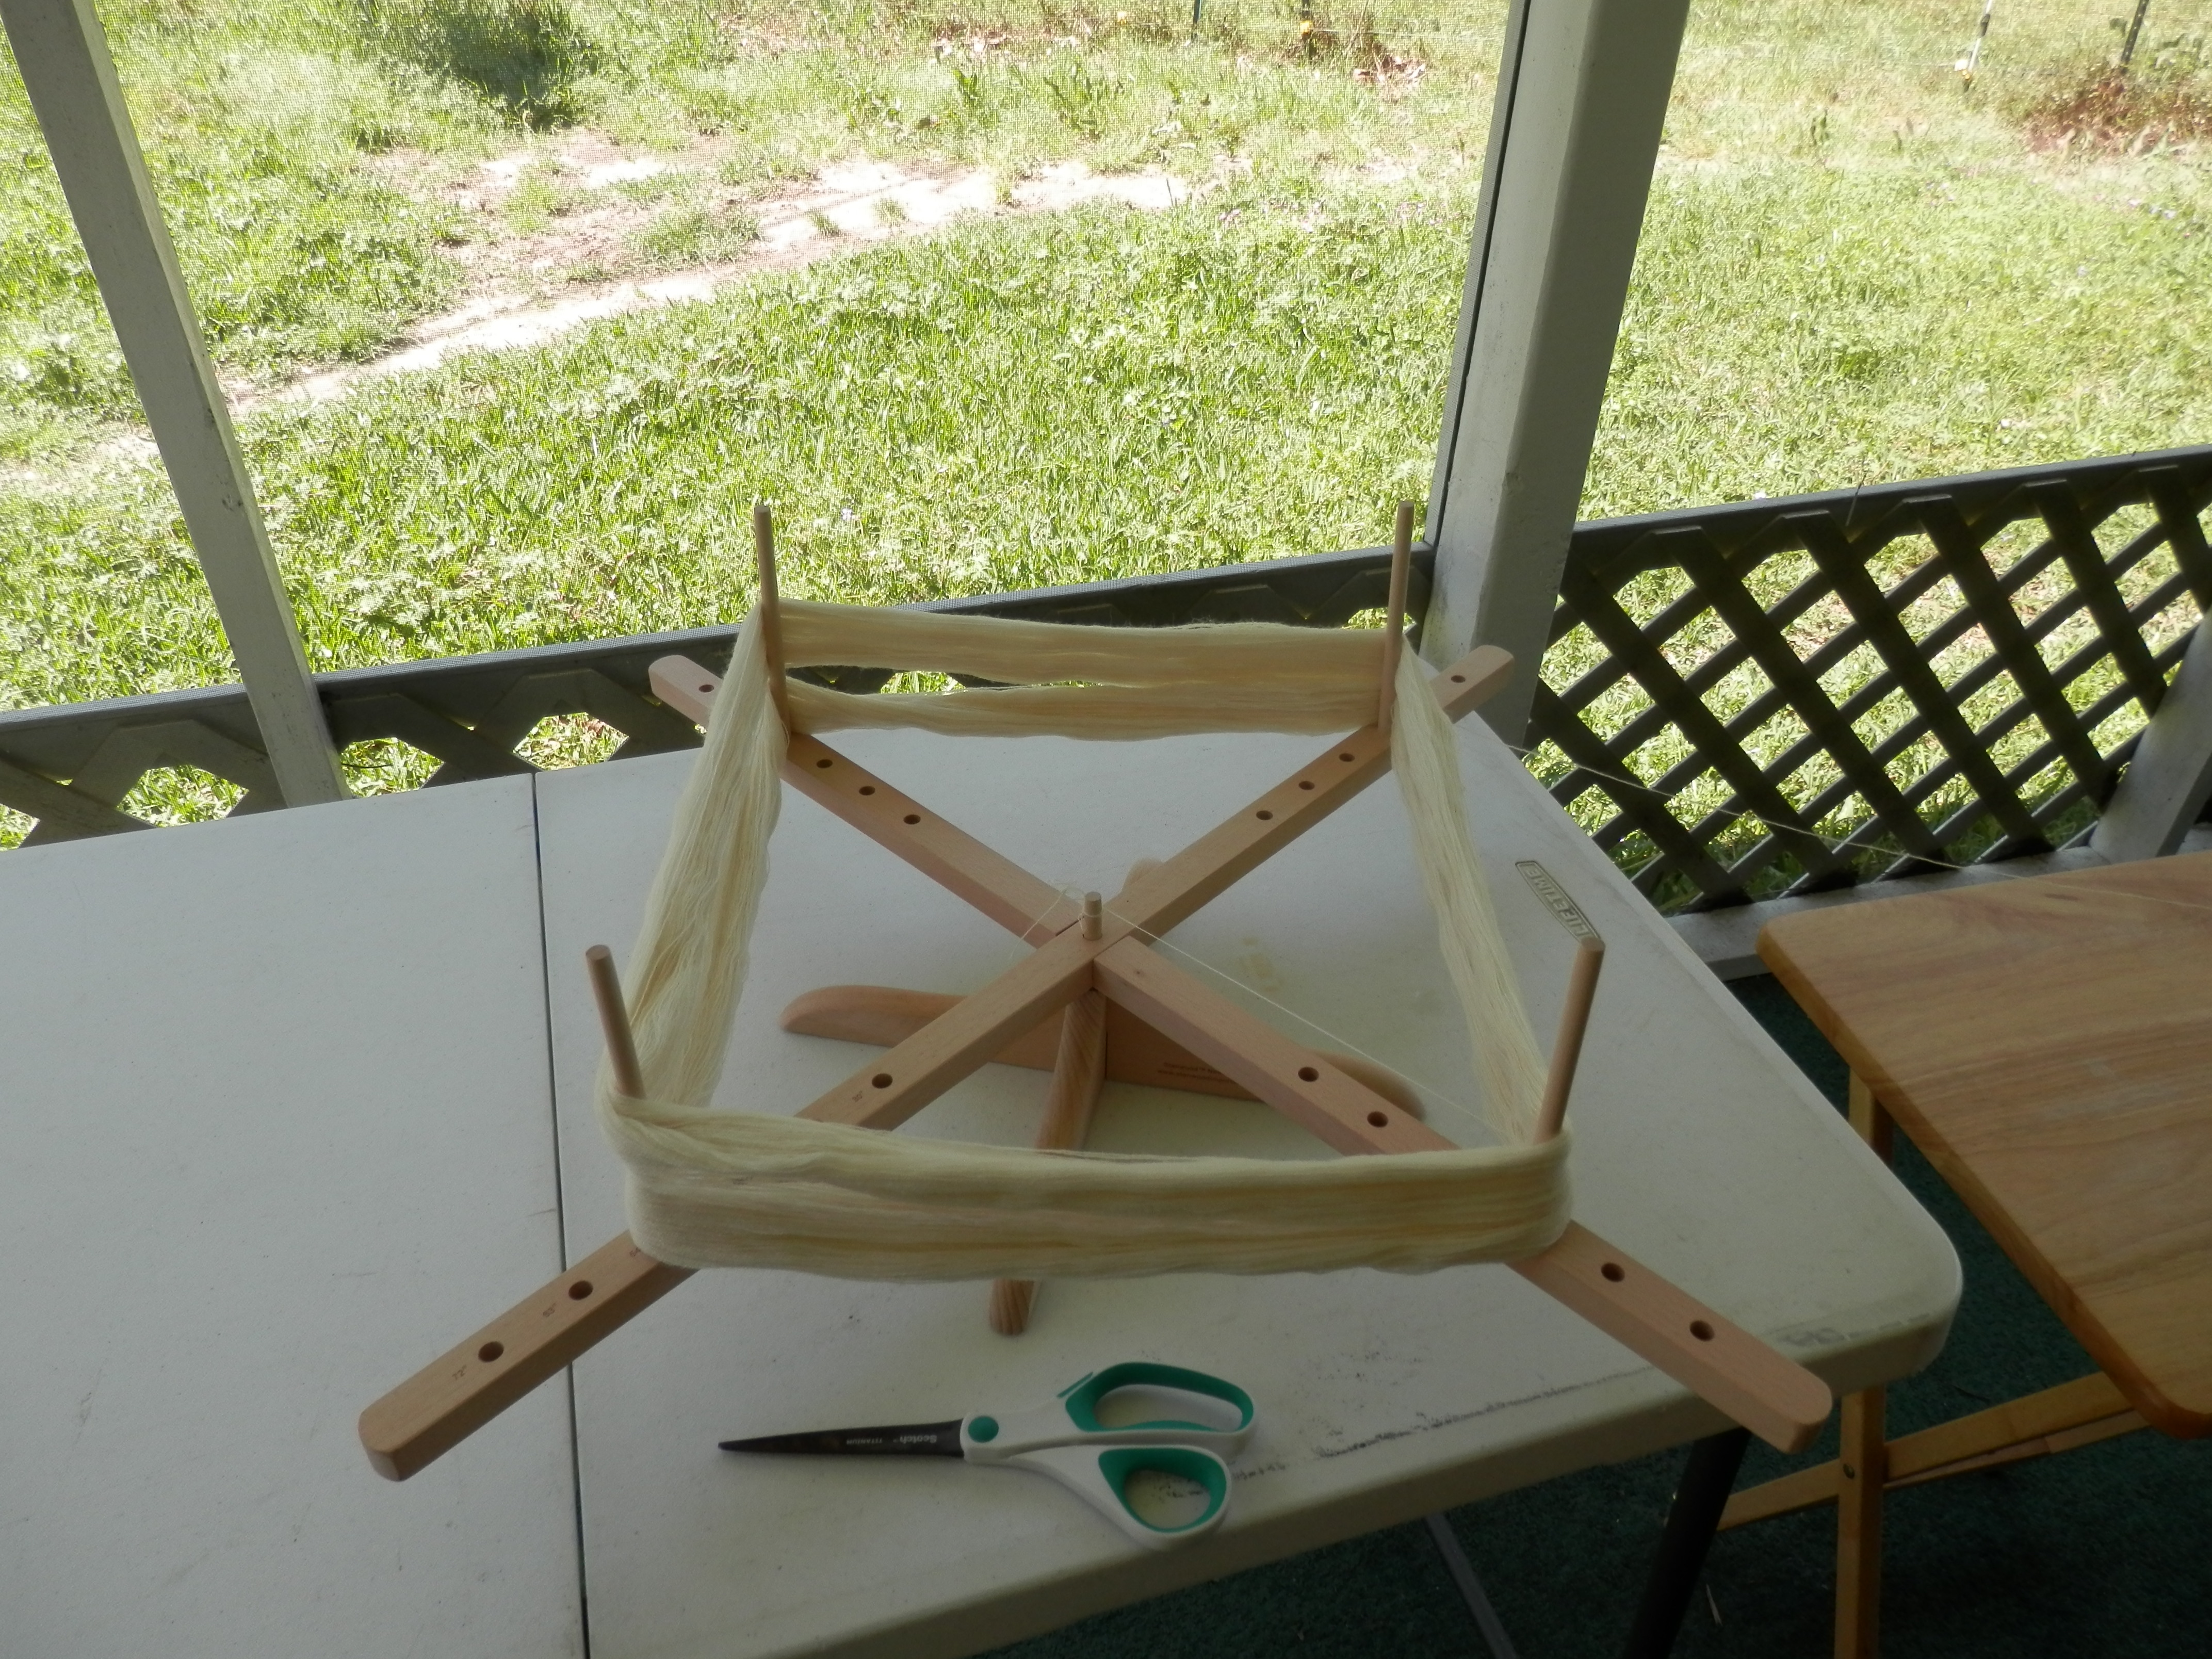
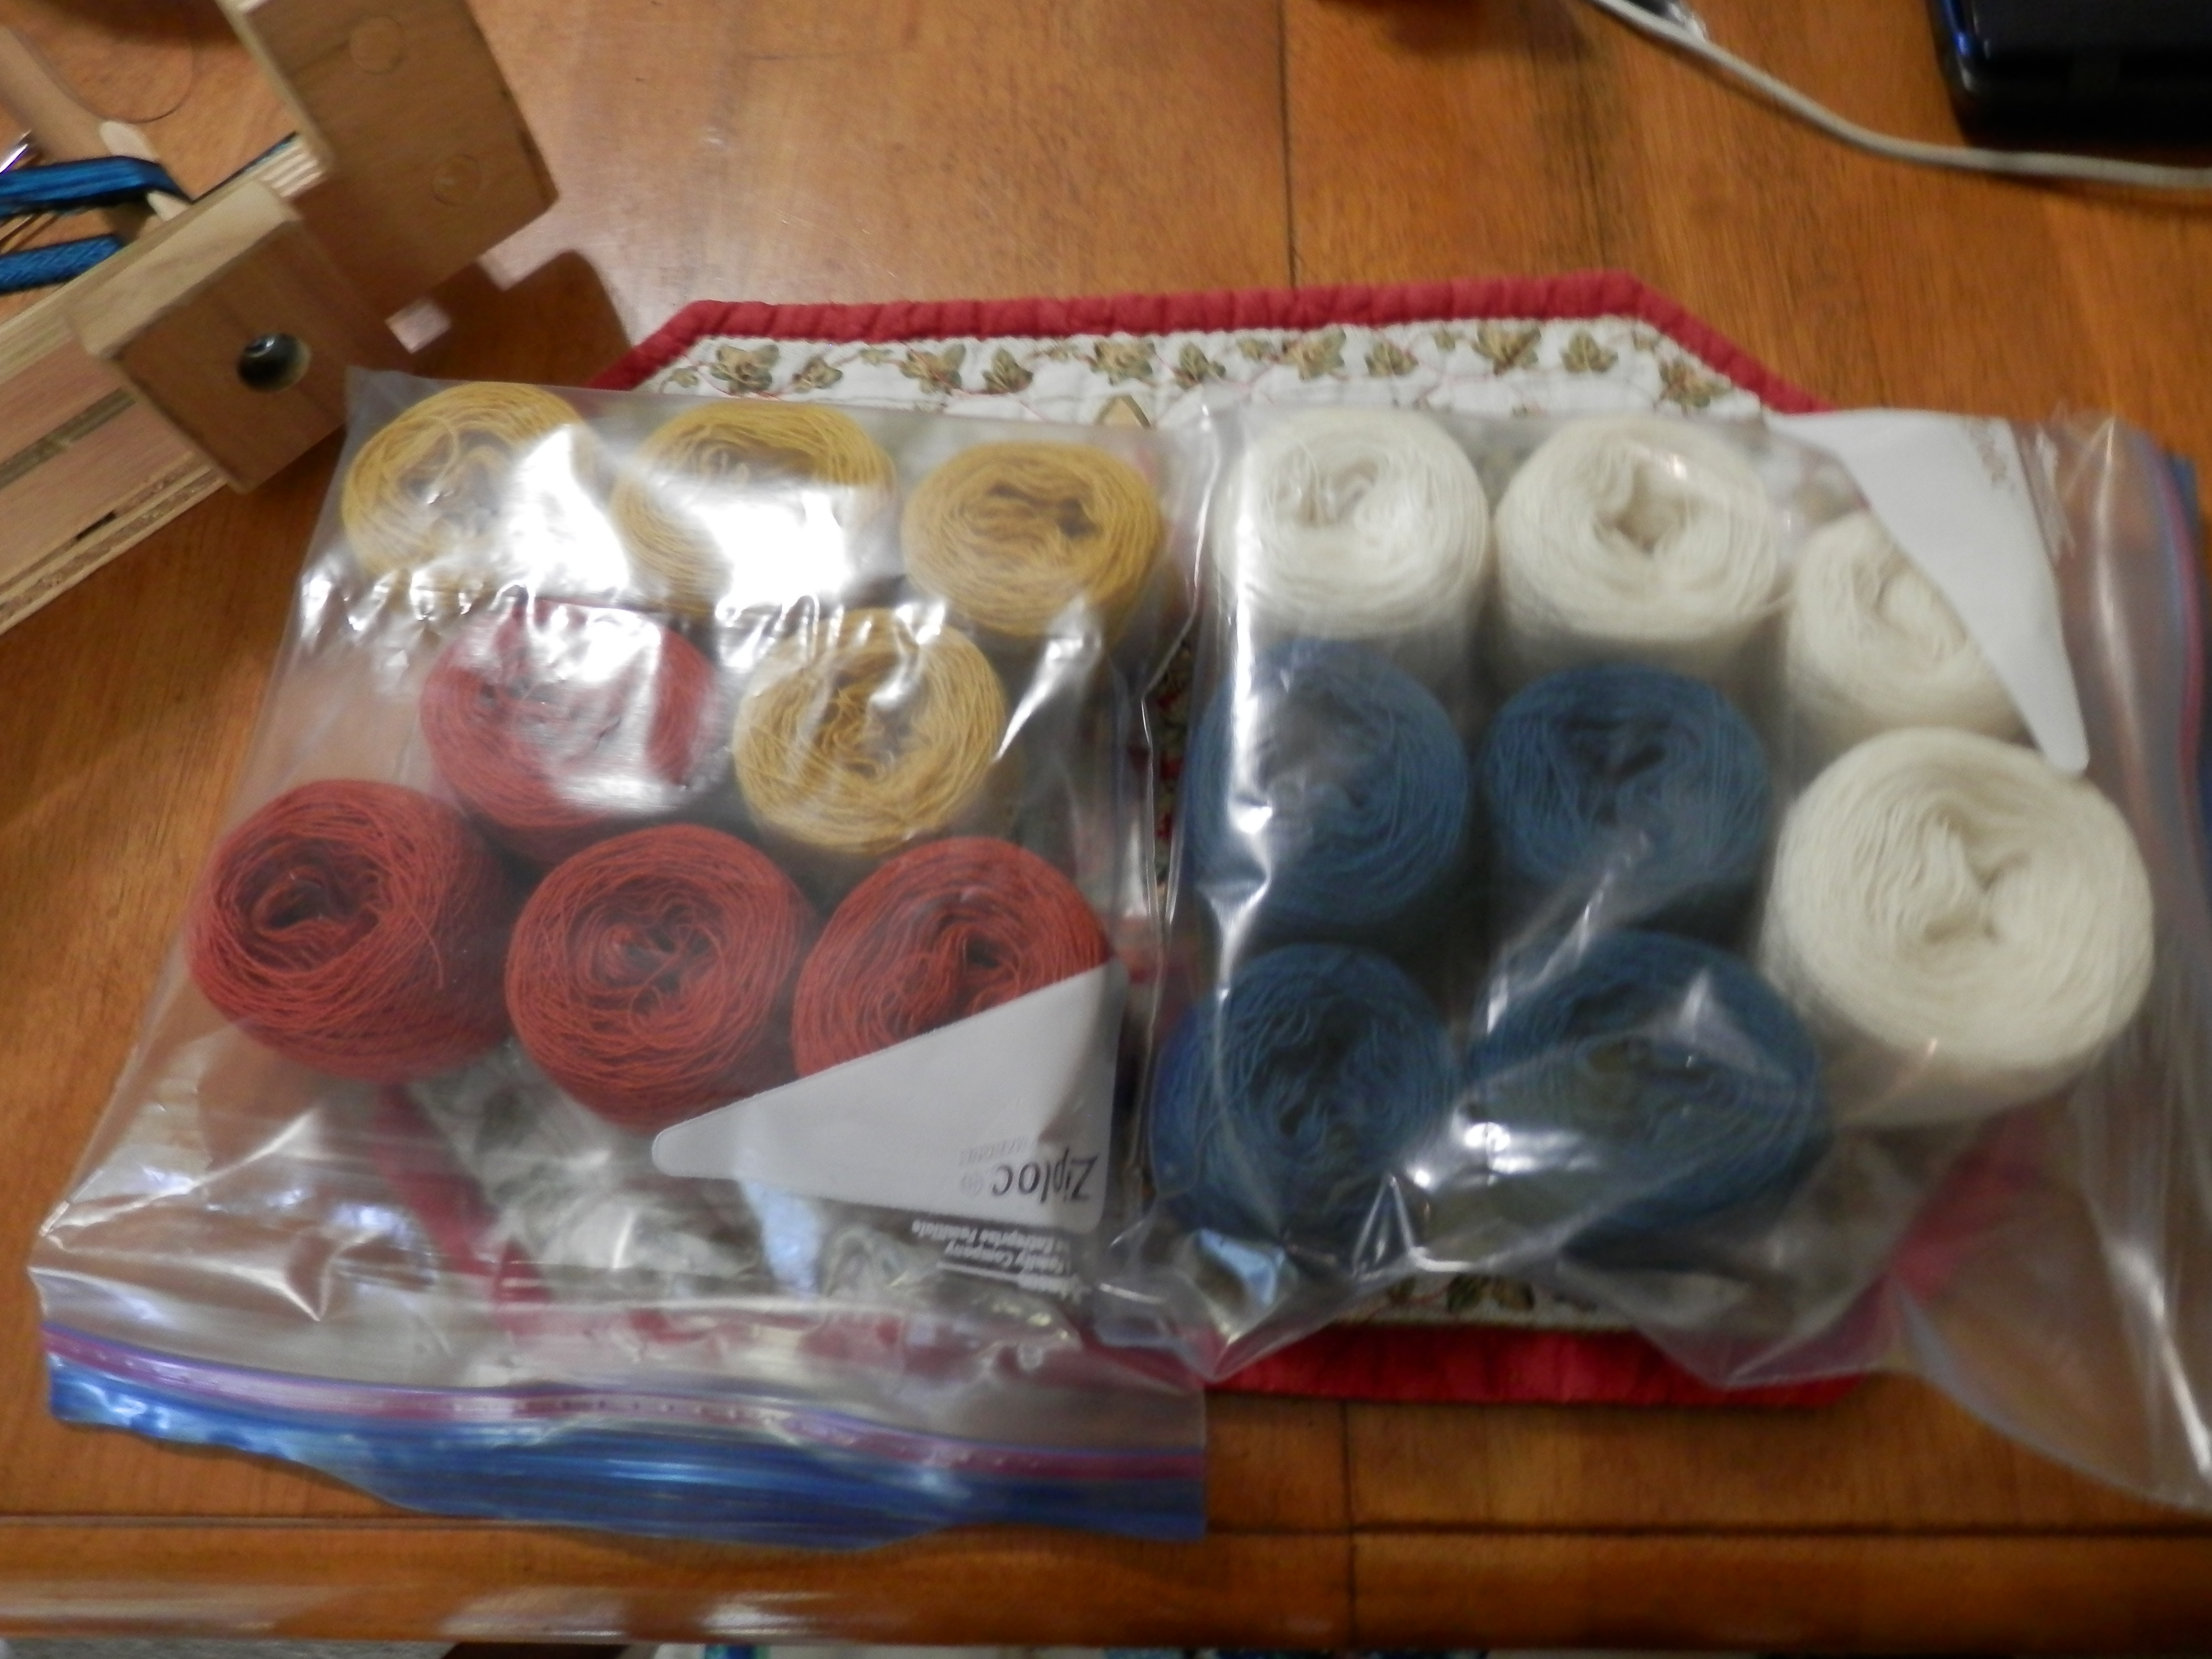
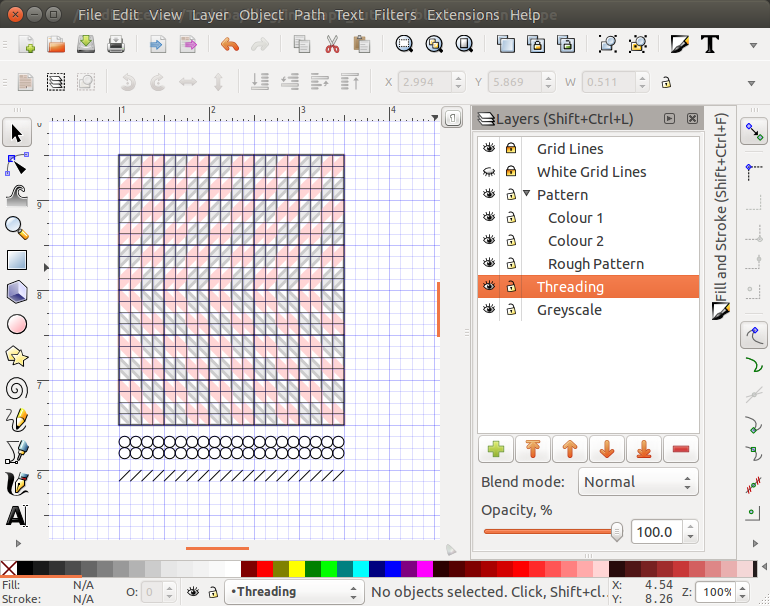
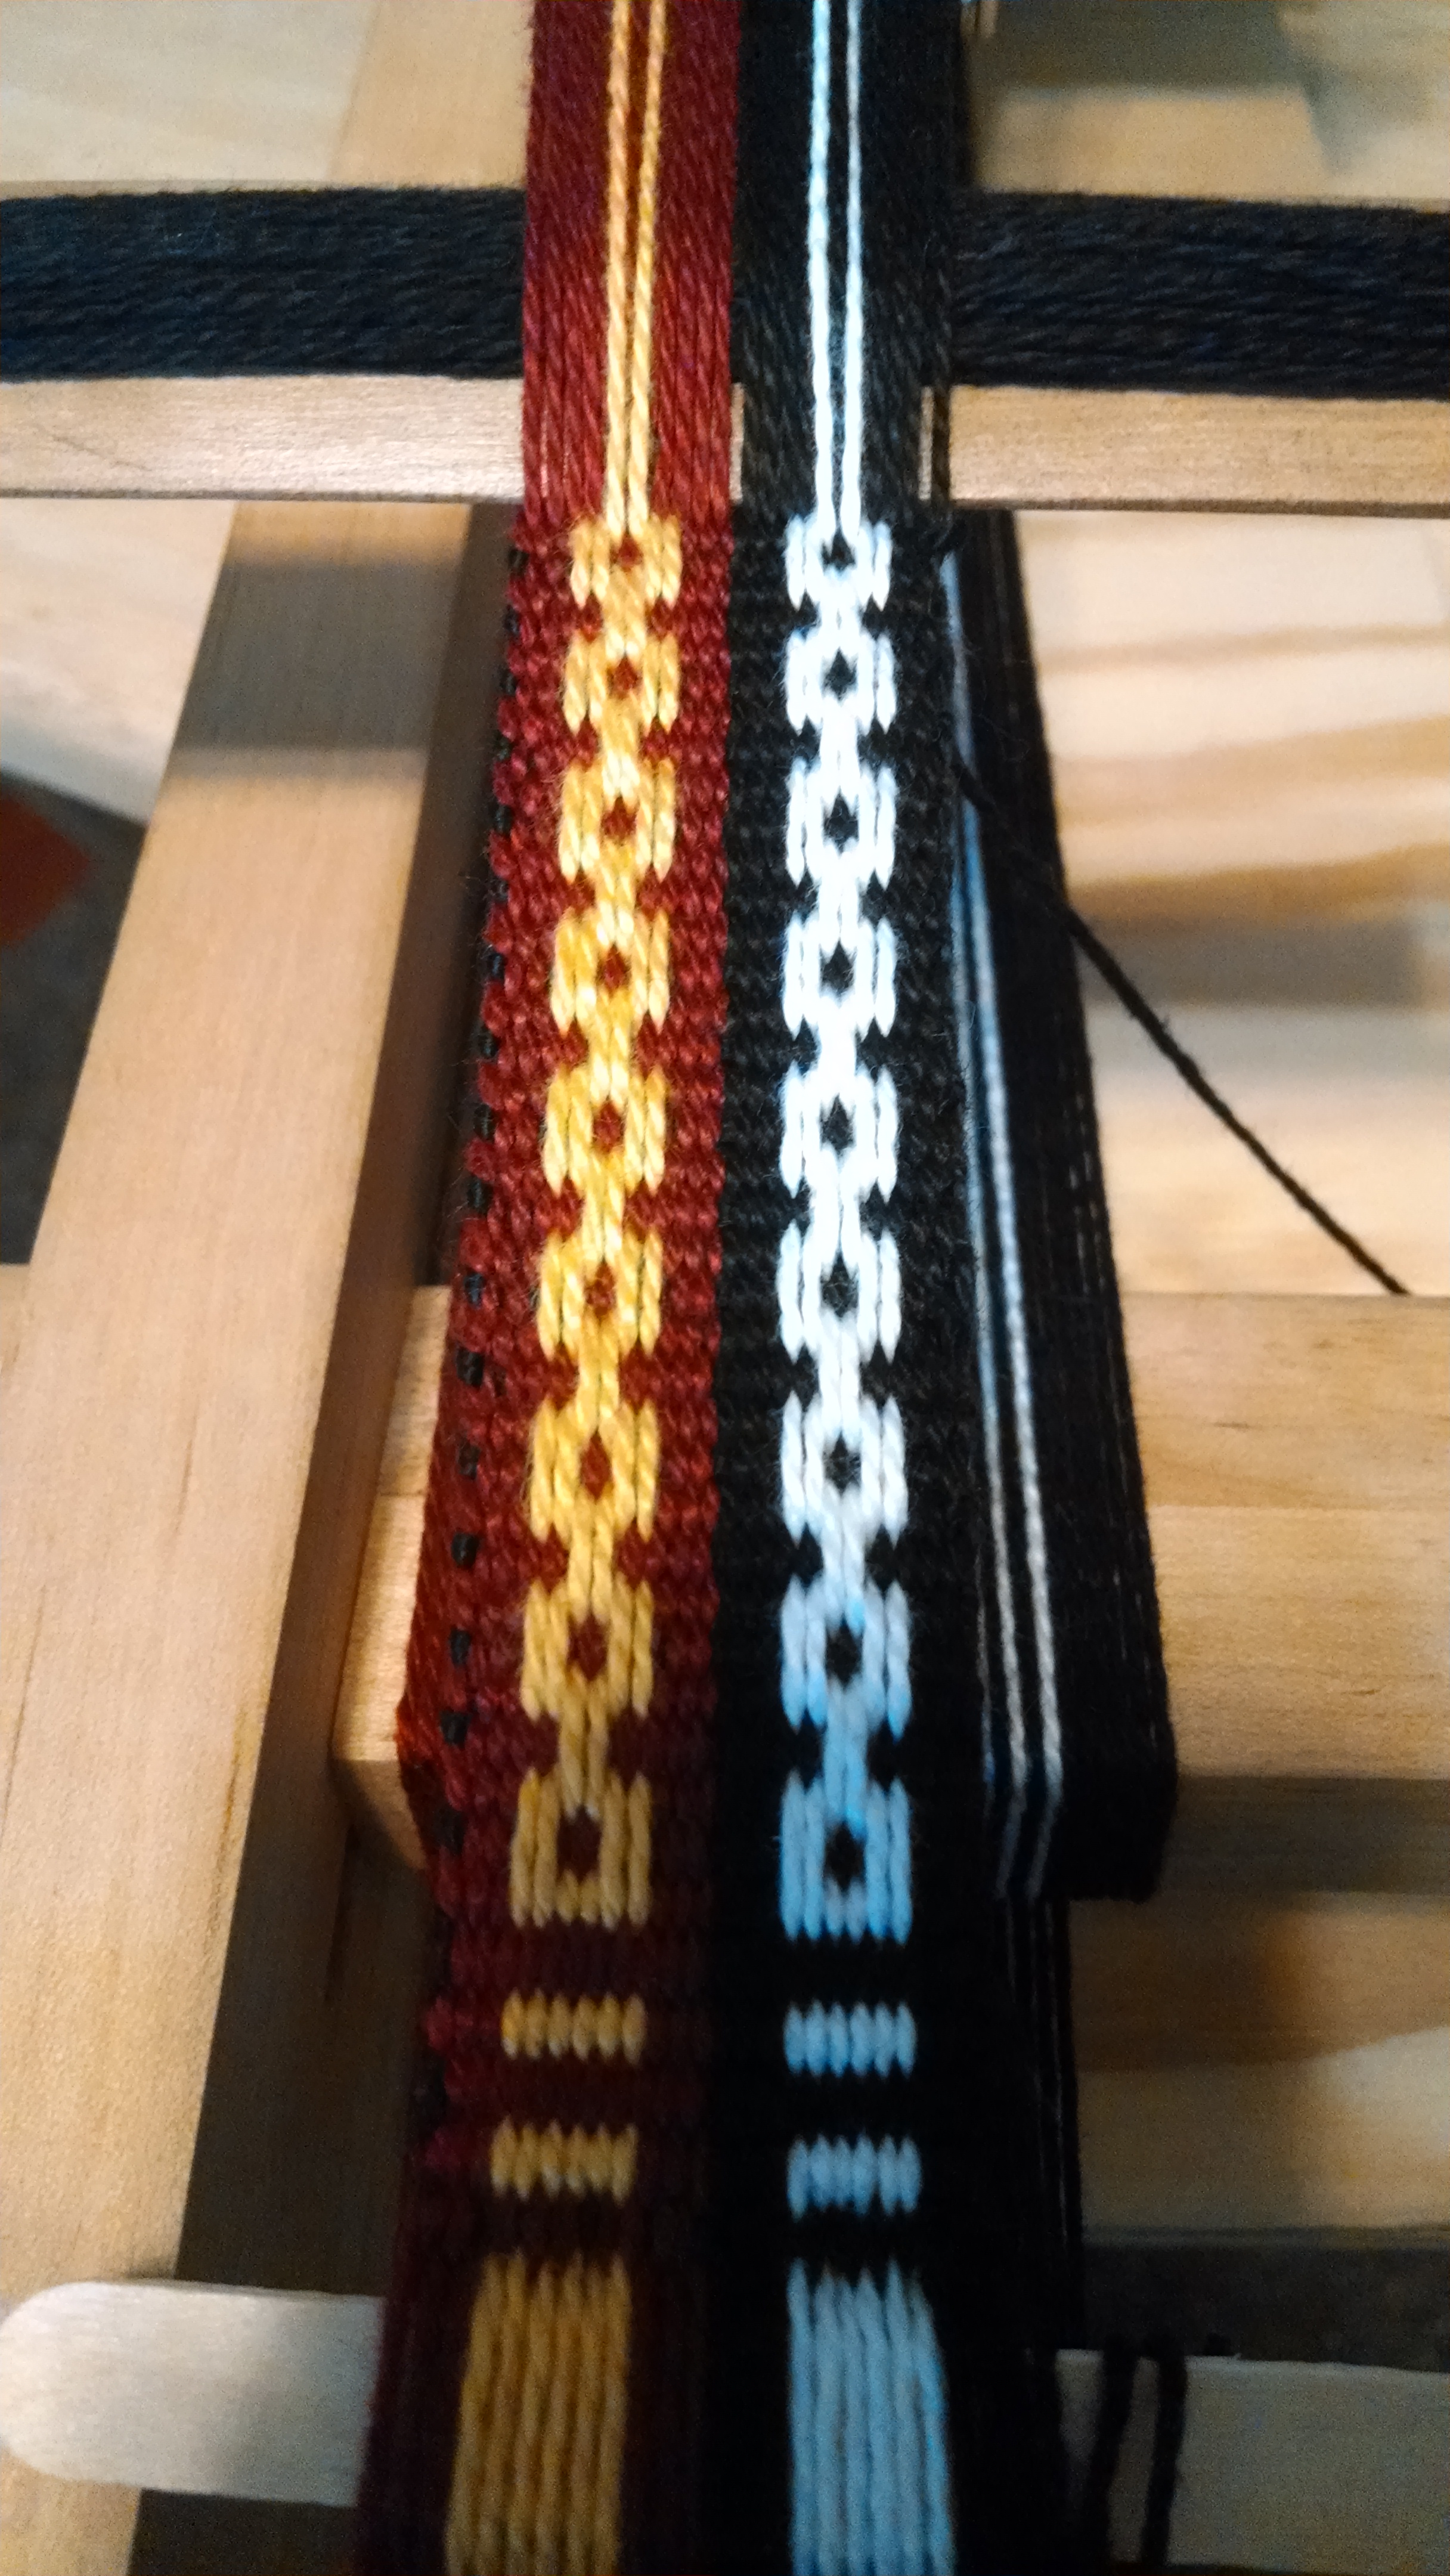
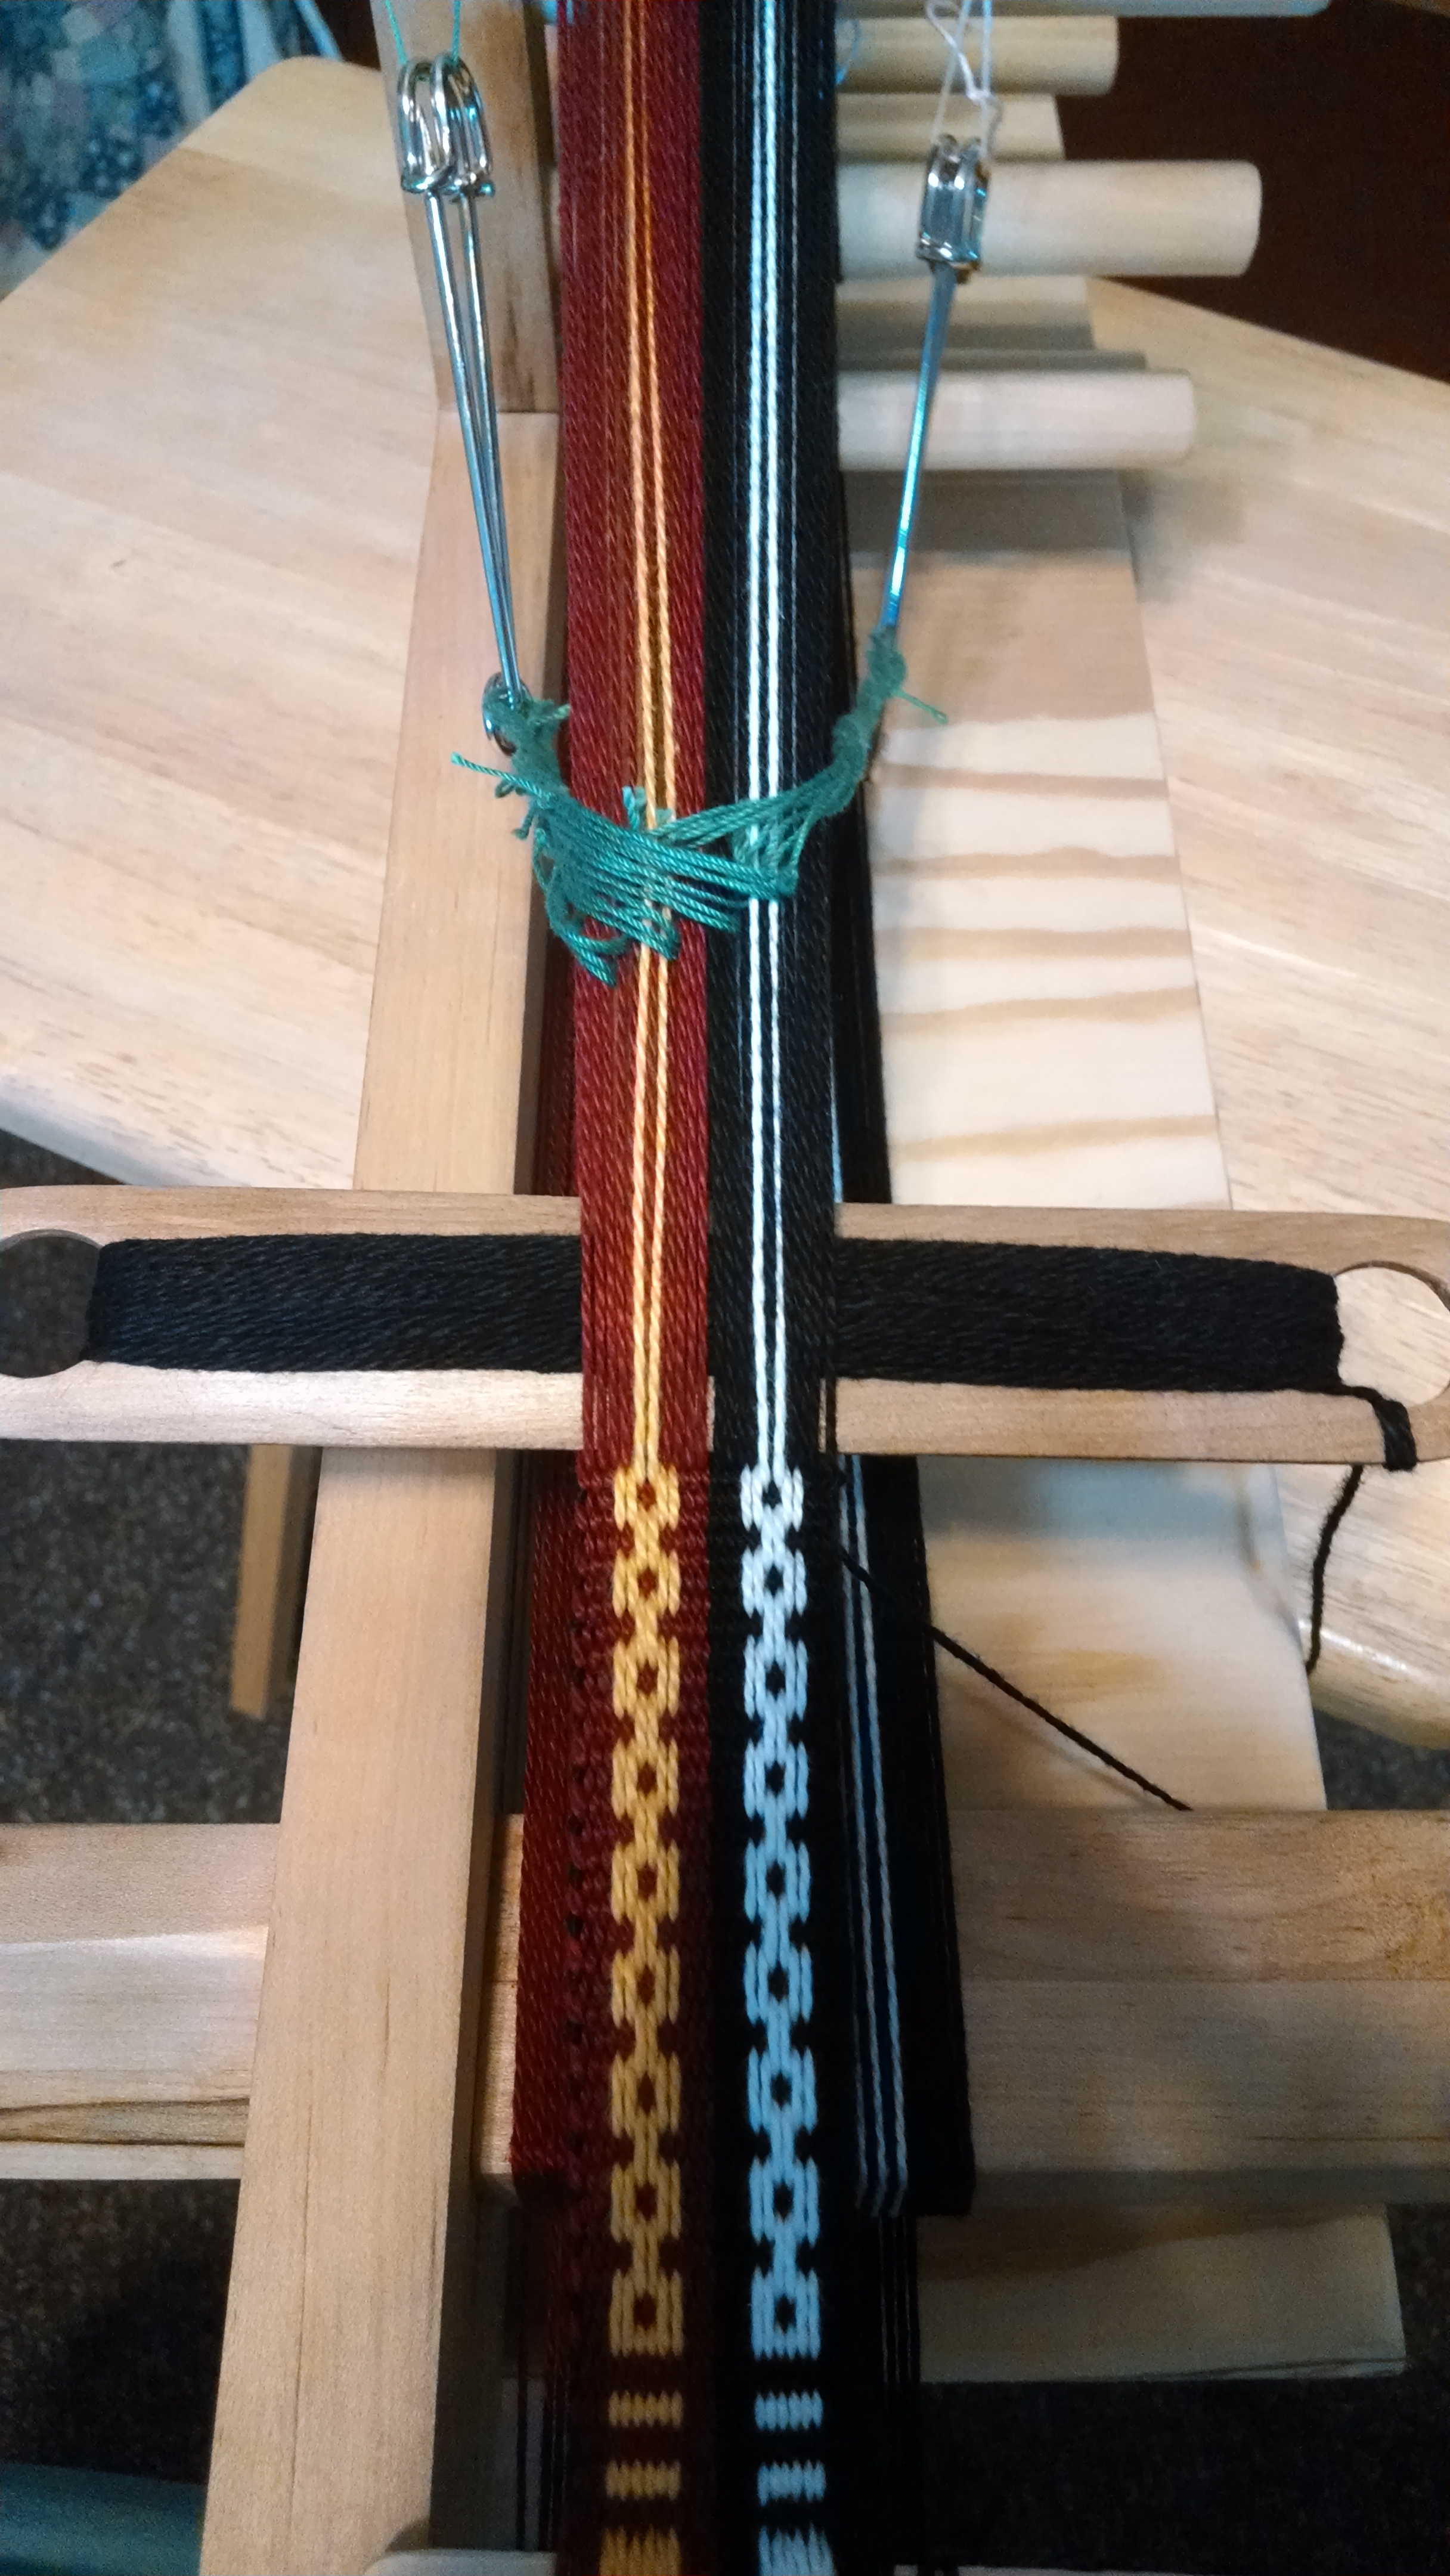
So once the skeins of wool were wound up into balls it was time to warp the loom. The trim that I am trying to reproduce was 1.2 cm wide, on 17 cards that were each threaded with 2 threads. It looked like there was selvage in the picture, so I added 4 cards of selvage, and alternated the threading of the selvage cards, as well as the pattern cards. By alternating the threading direction (or rather, warping and then flipping every other card) the ribbon should naturally lie flat.
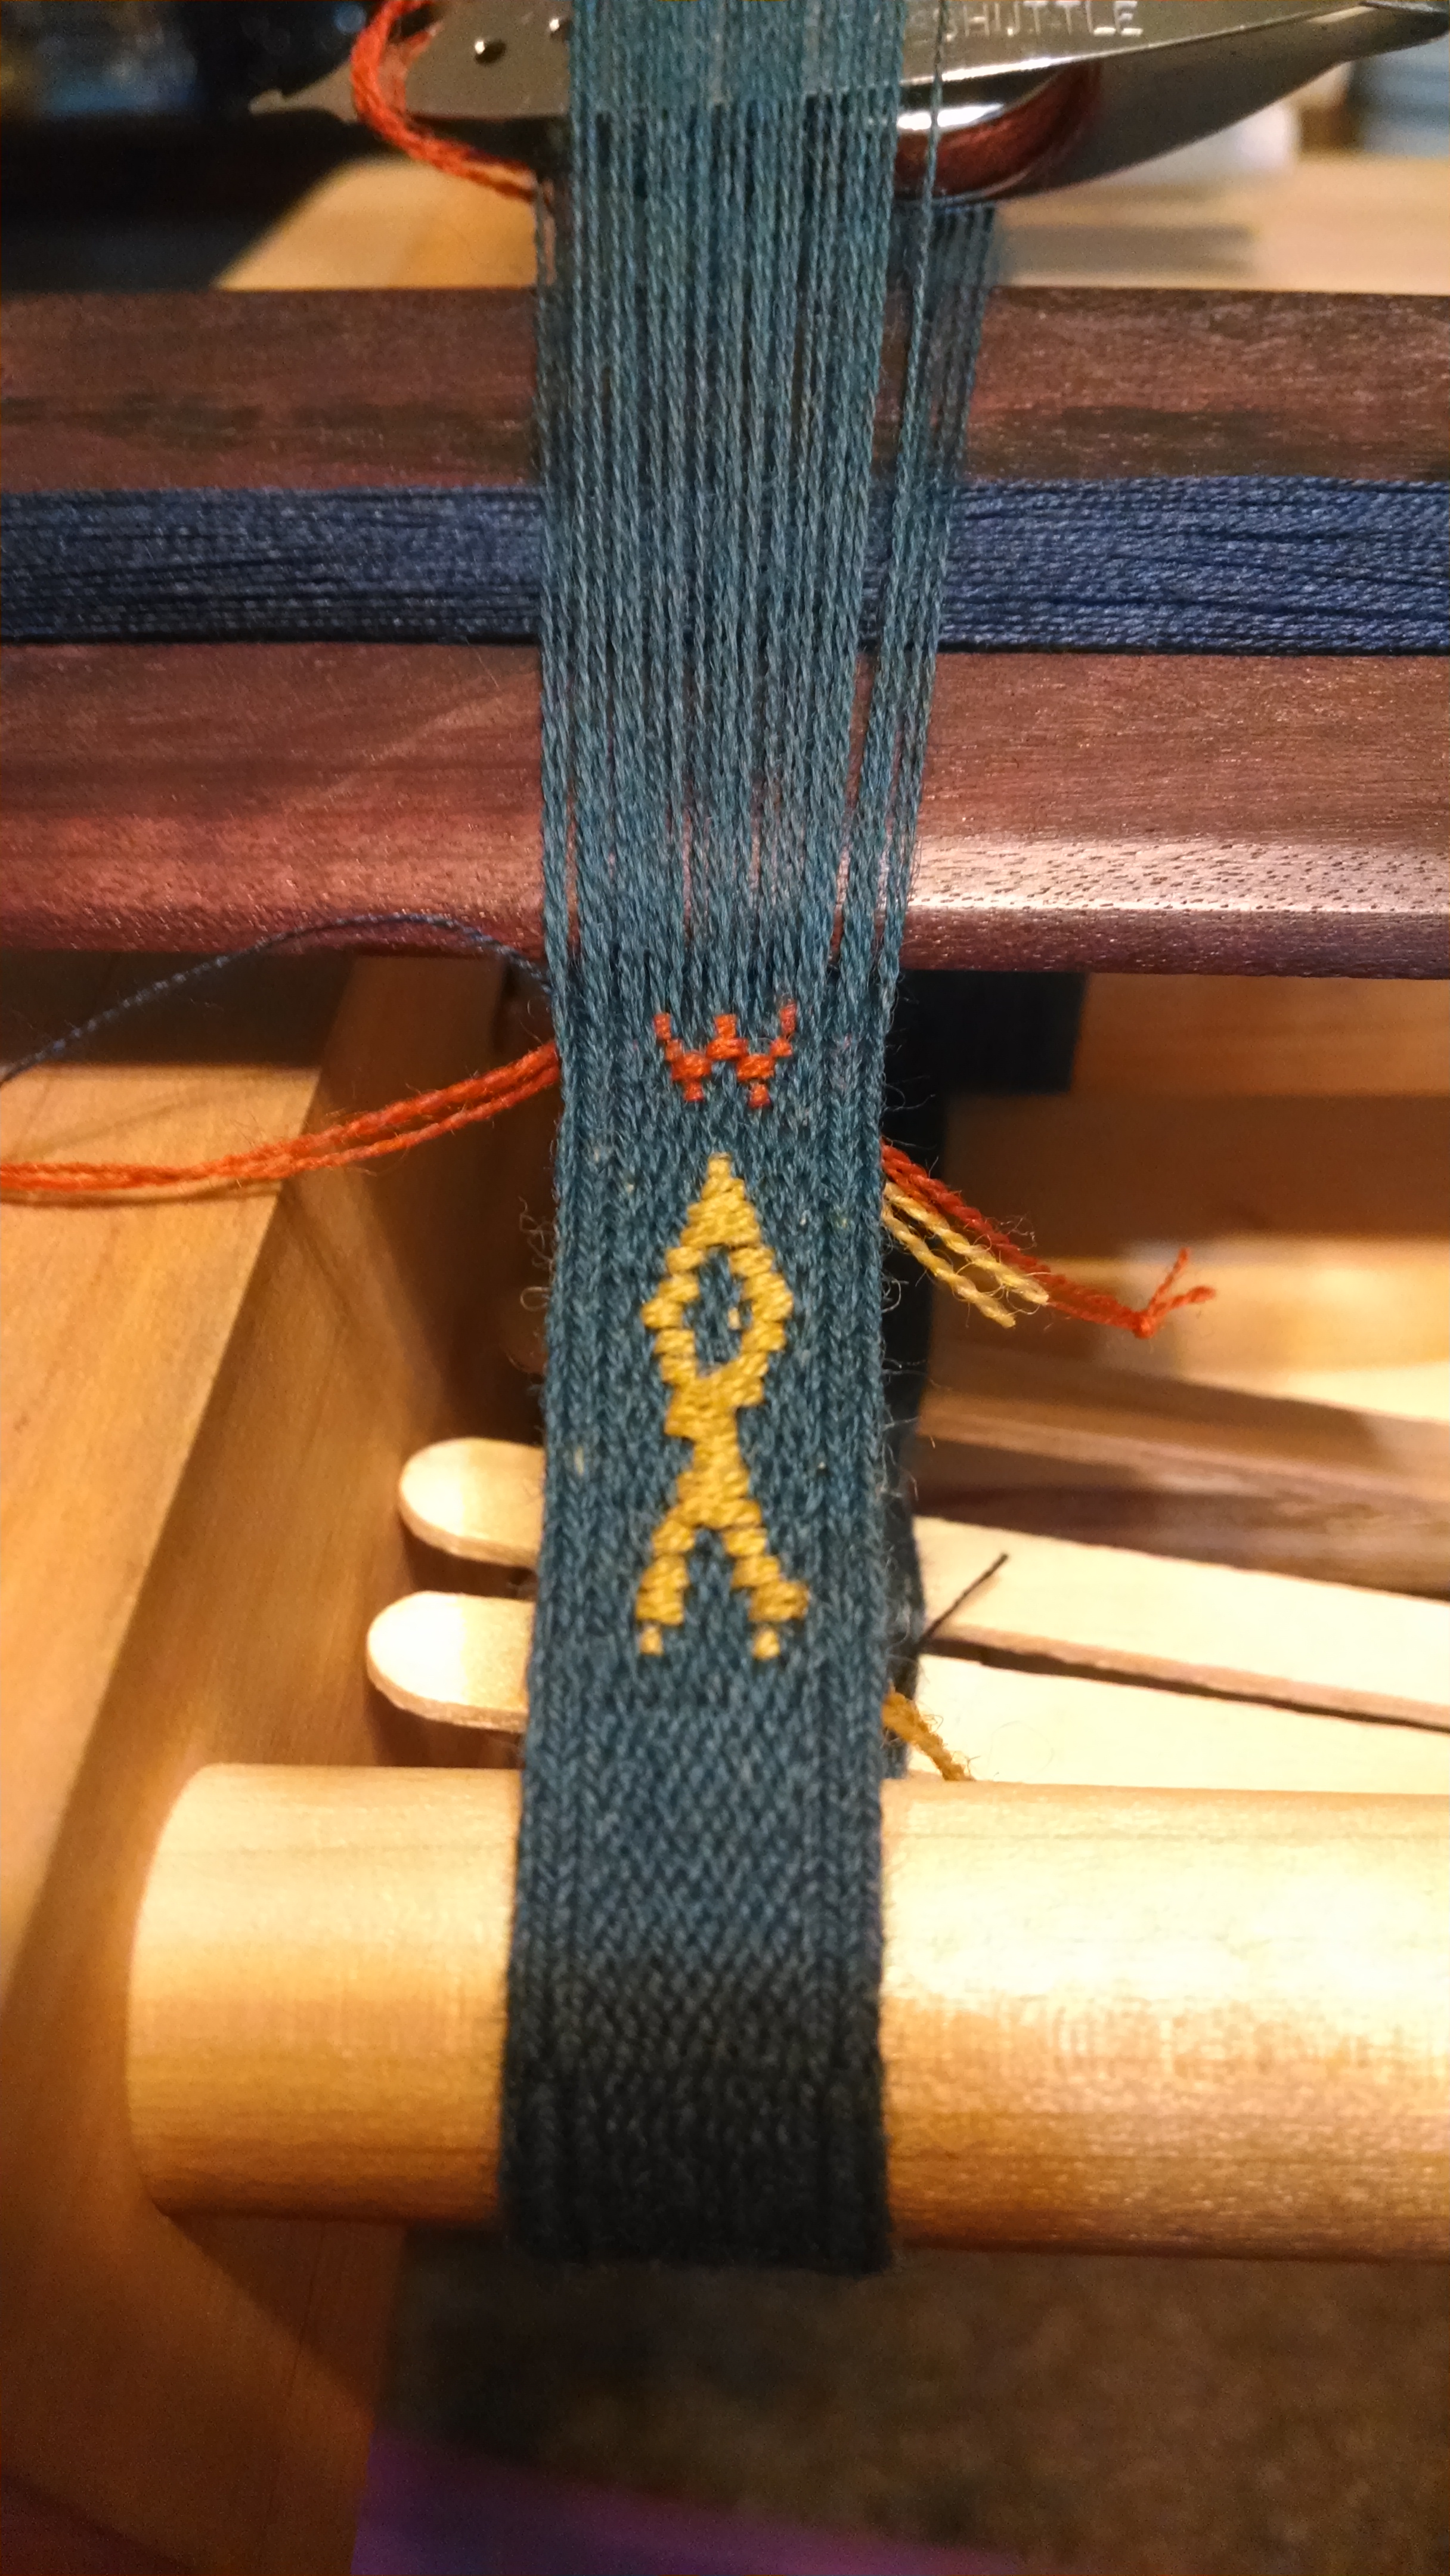 When you zoom in on the picture you can see the interesting weaving structure created by the missed hole threading in the pattern tablets. The weft is a navy 60/2 silk and just about invisible on the edges, and the brocading threads are doubled threads of the 20/2 wool, dropped down below two cards from the edge so that you don’t see them at the edge. Right now the ends are also visible; those will be trimmed flush with the band when it comes off the loom.
What I find particularly interesting is the effect of the weaving structure on the diagonal edges of the brocading; for instance in the cross over X part of the yellow fish it looks like two rows have the same end point, but they don’t. I think this effect is due to the fact that the threads in each card are basically floating two above and two below, which affects the appearance.
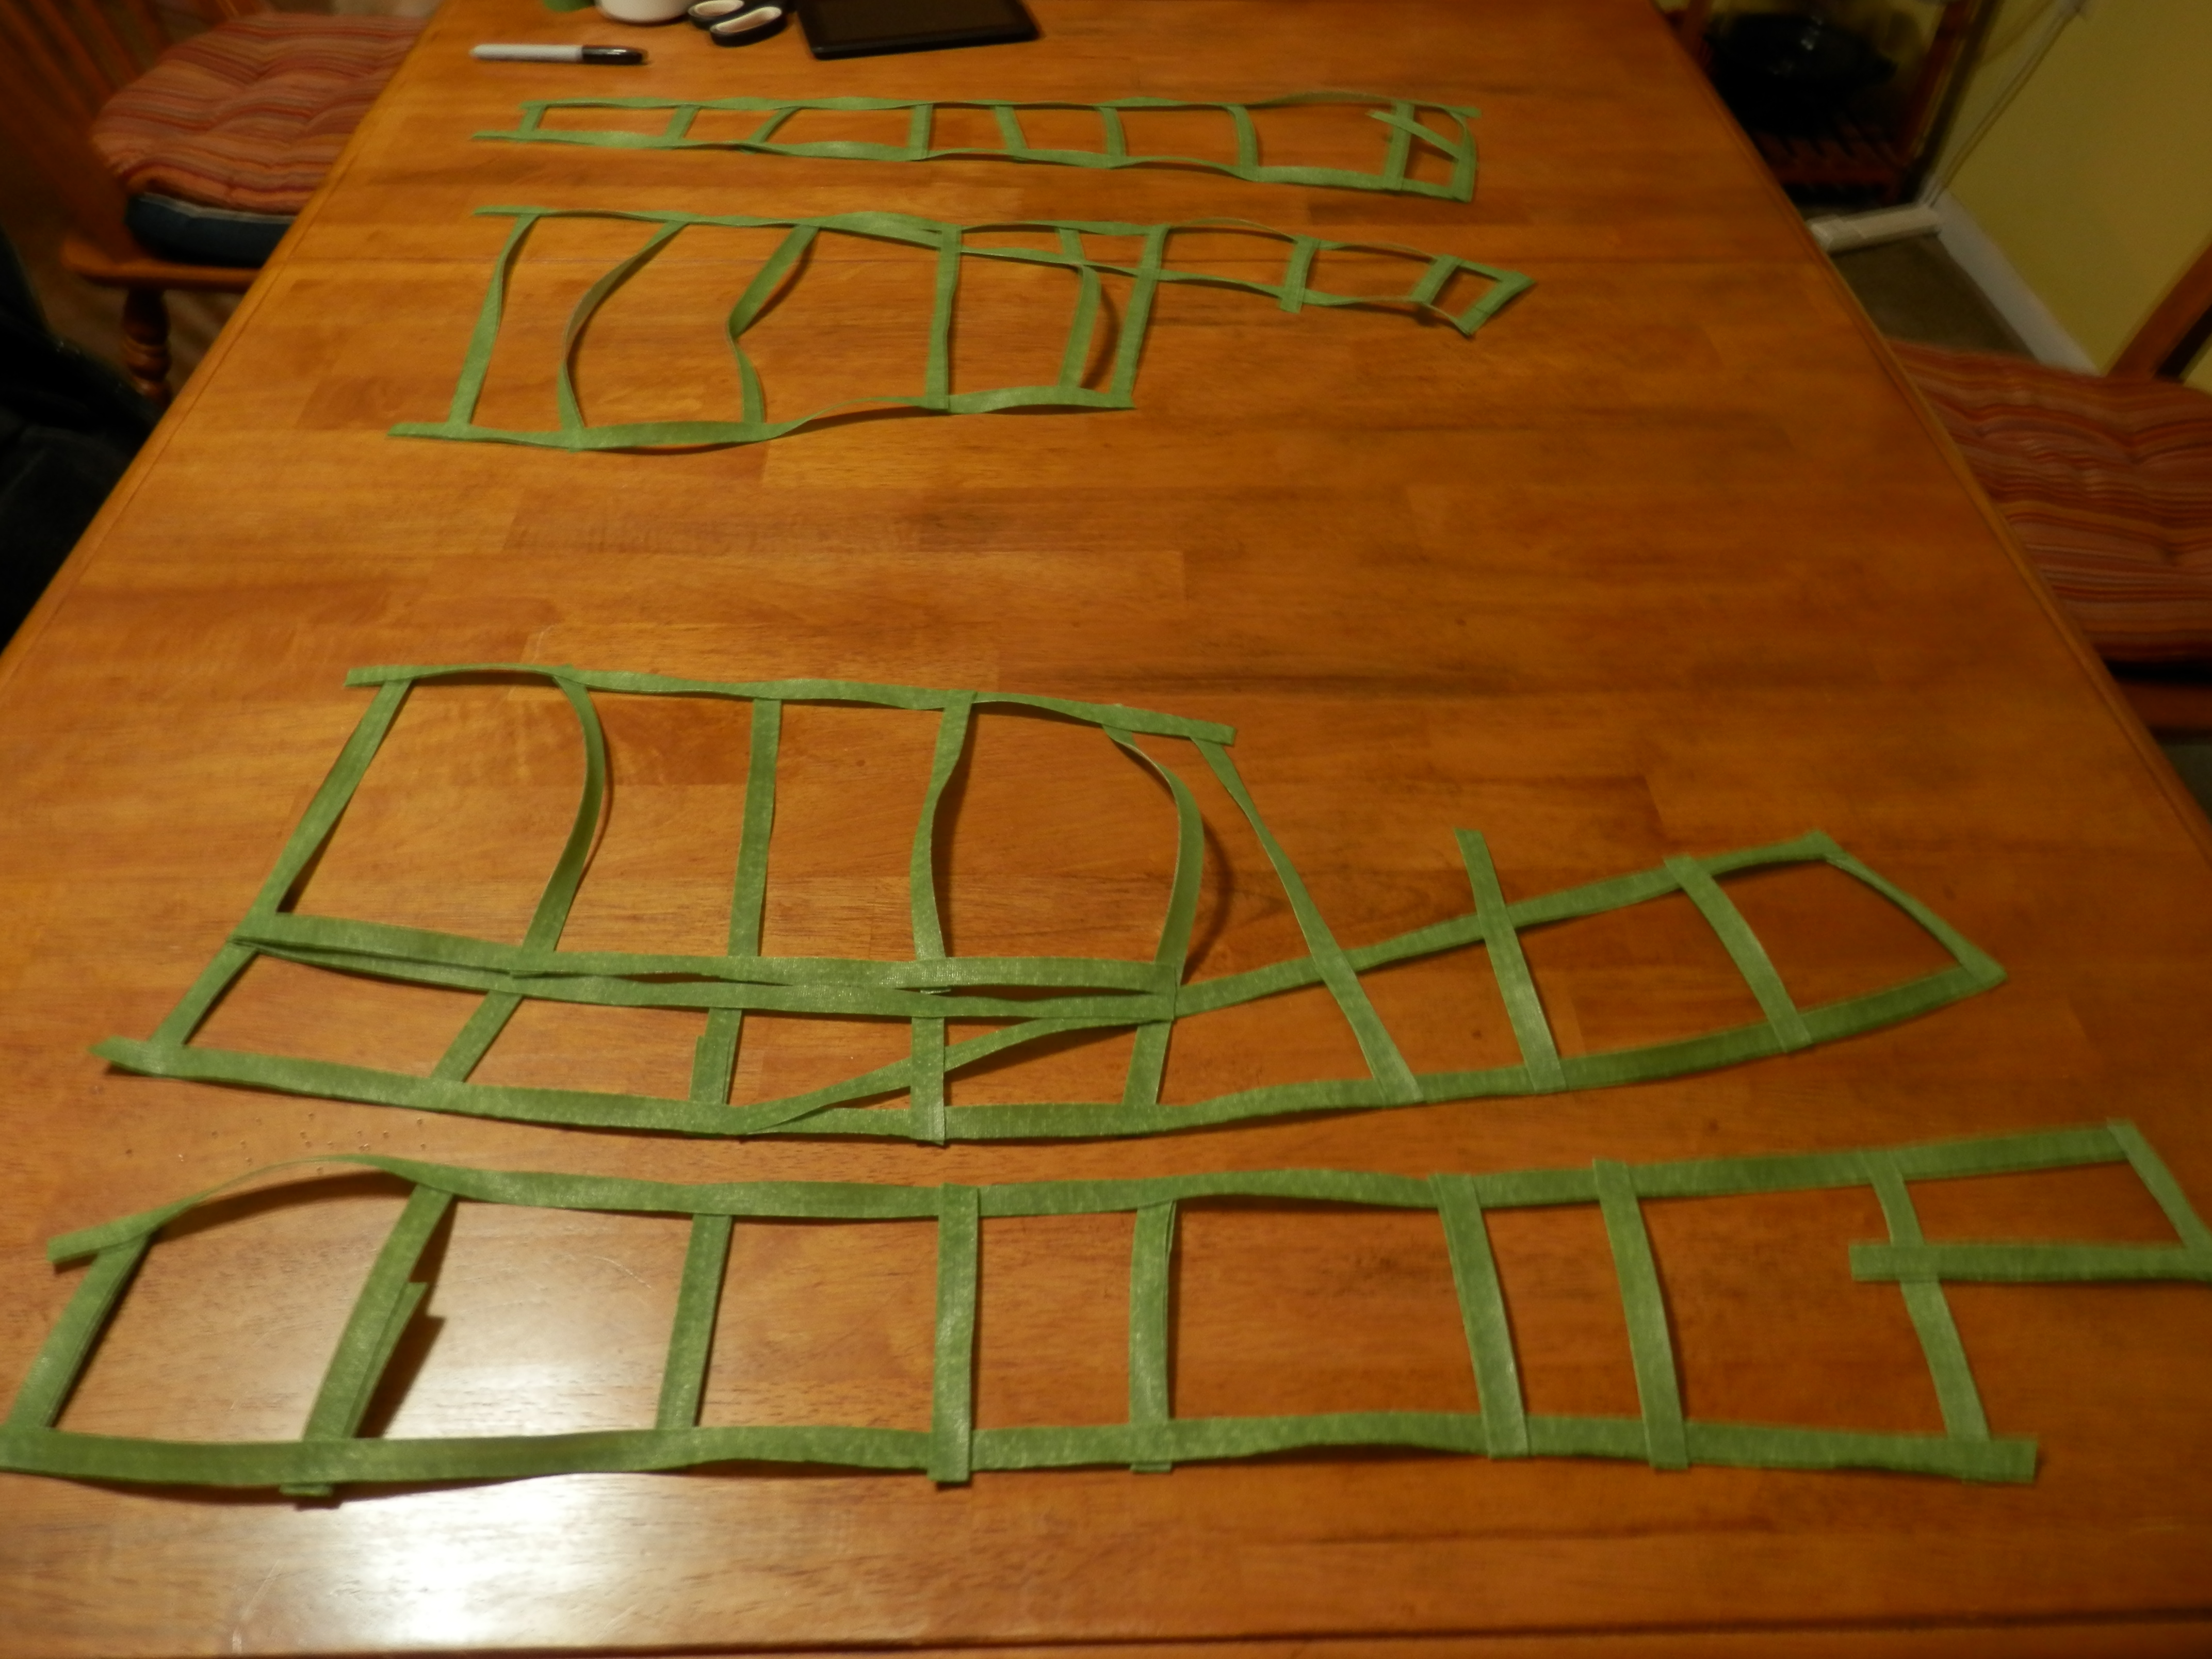
What I find more frustrating is that the emergency brocading shuttle I’m using – a tatting shuttle whose bobbins can be traded out – is not really long enough and difficult to manipulate with the left hand, making every second row trickier. This is exacerbated by the pattern cards’ desire to shift …
Unless I find a way to speed up, this is going to be one of those projects where the pace is measured in cm per hour. So far, roughly 2 cm per hour.