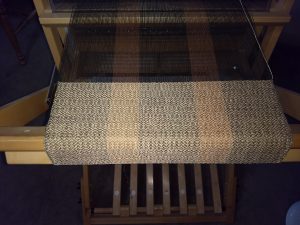
So in happy anticipation of an oncoming birthday gift from hubby — 12 harness table loom where each harness is manipulated separately using a lever — I have been playing more with different weaving patterns and trying to make sense out of them. (I’ve also learned how amazeballs having software to work out these patterns is, because doing this by hand would make my brain hurt. Hurt worse.)
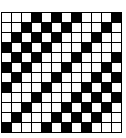
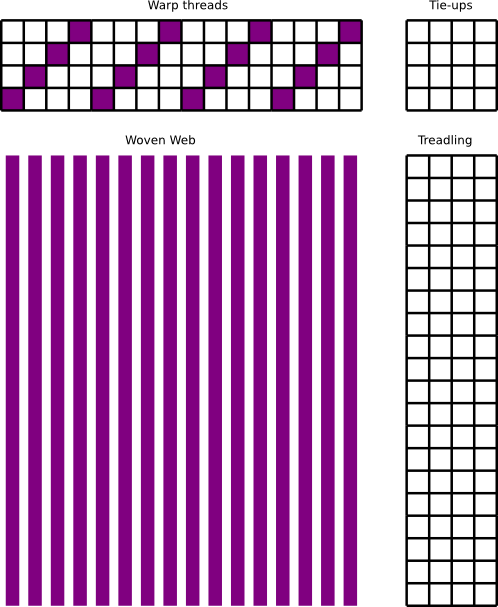
The first thing I learned is that it’s all about symmetries, reflections, and translations. So I started with a very basic building block: Each column here represents all 12 harnesses, (each square is one harness), and if the square is black, the harness is lifted on this pick. If I just kept repeating this block I would get diagonal lines across the surface.
So then I started playing with symmetries. Now in these symmetries I’m reflecting both the warp threads and the raising and lowering of harnesses as I weave, so I can’t move seamlessly form one pattern to the next. But I’m trying to develop the intuition for how reflections work so that’s what I start with.
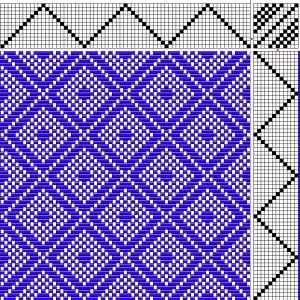
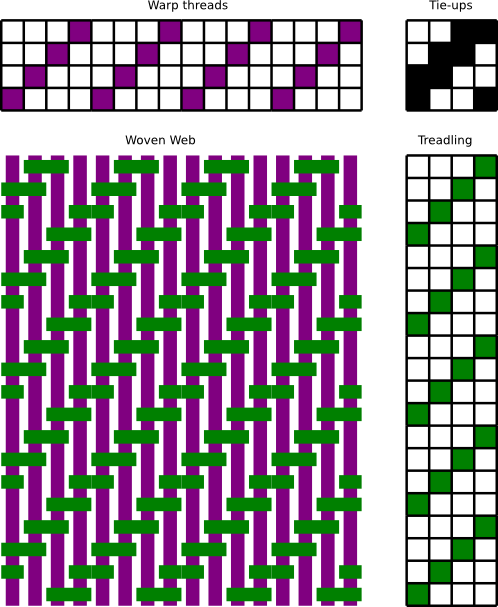
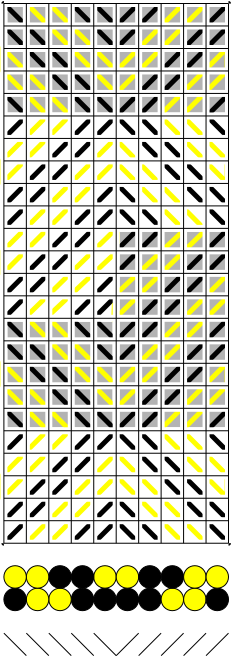
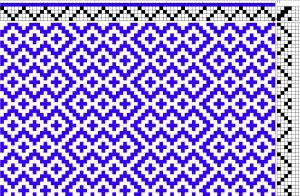
This is the base pattern. There are reflections both horizontally and vertically so that each full repeat of the pattern consists of 4 copies of the basic block. Every time the diagonals in both the threading (on the horizontal bar) and treadling (the vertical bar) change directions we’re starting a new reflection.
In this version we’re still reflecting the basic square in its entirety, and the size of a single repeat is 22 threads high by 22 threads wide.
It’s pretty, but it’s not really complex.
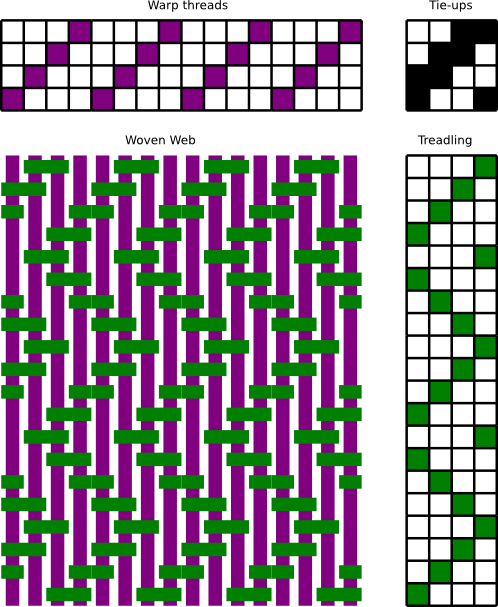
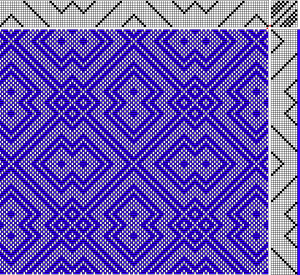
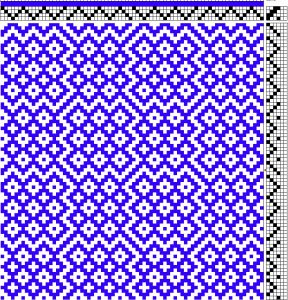
So let’s up the ante.
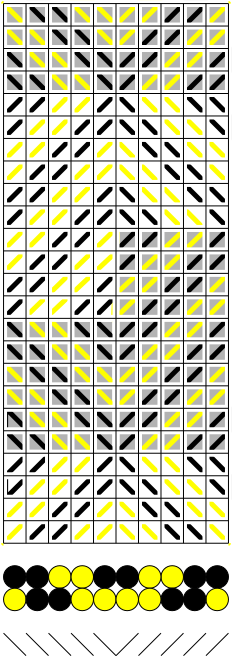
 What we’ve done here is add some partial reflections, where the threading/treadling change direction after only 6 strings instead of 12. The basic bloc is still the same size, But a full repeat of the pattern is now 32 threads wide and high.
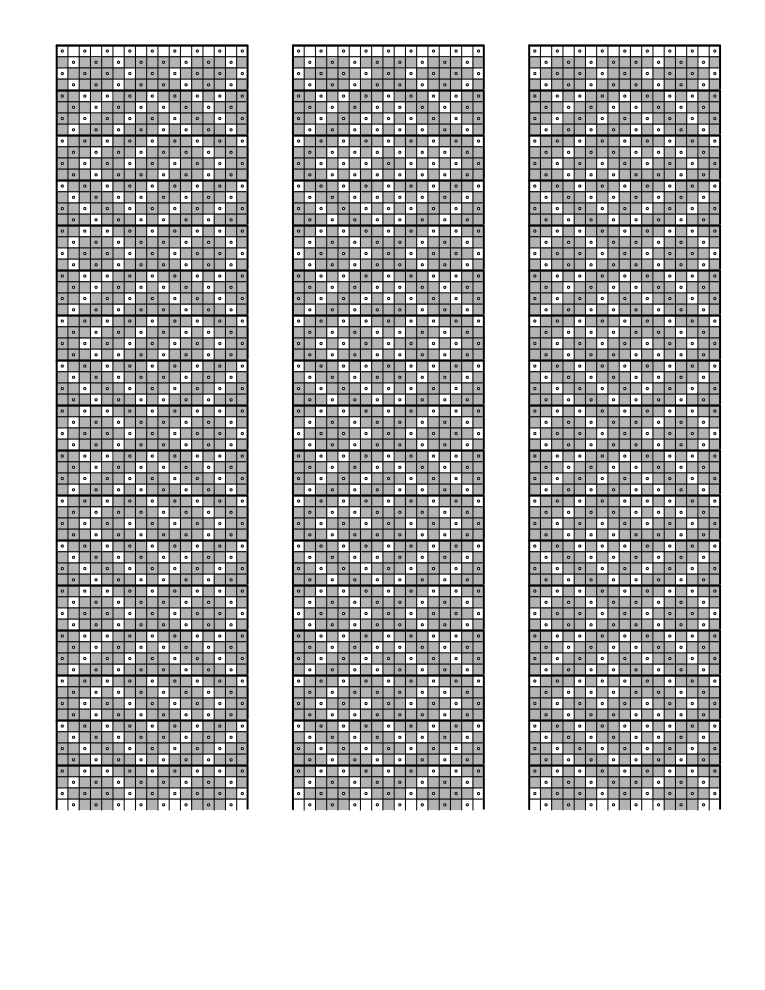
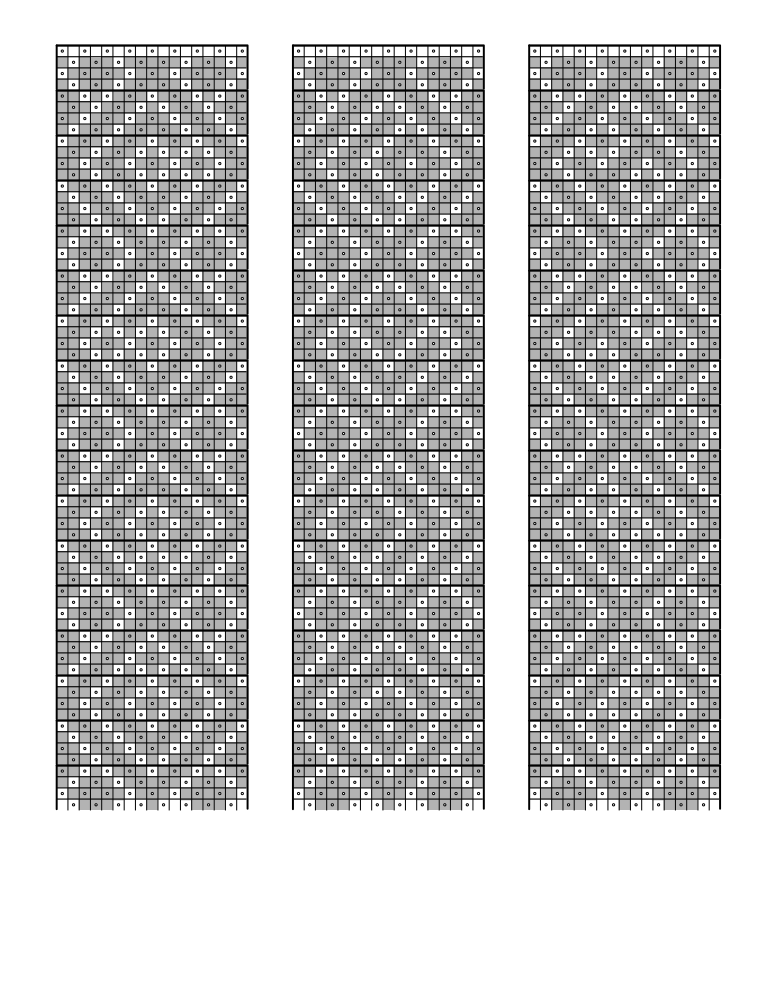
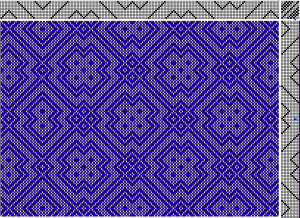
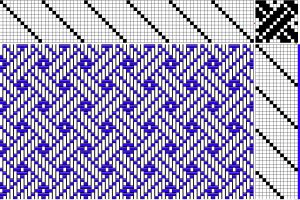
 Of course the next logical experiment is to add translations. Translations occur when you keep going in the same diagonal direction for more than 12 picks, which you see here in the parallel lines in the pattern. And the pattern is now 56 threads wide and tall. (And yes, on the left side I forgot a reflection in the threading, so there’s an unevenness there. Oops)
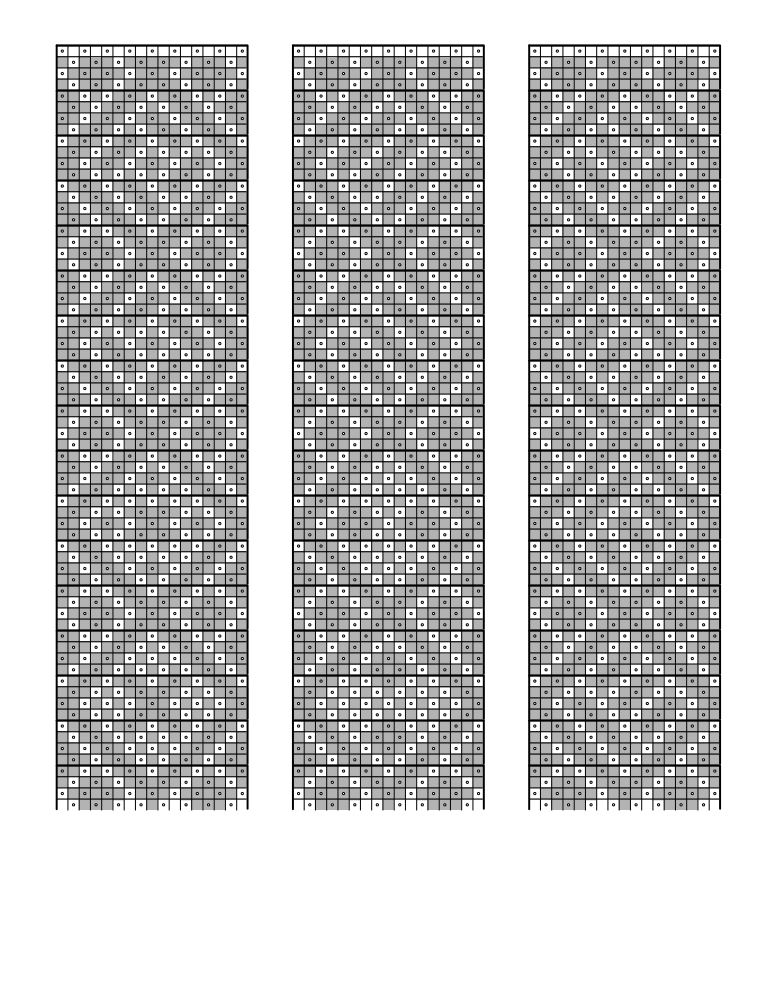
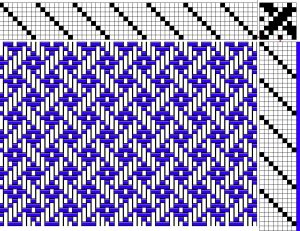
 And then there’s this last Variation, where translations have been utilized to make the individual building blocks much bigger than they really are.
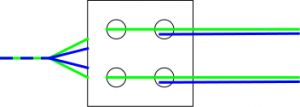
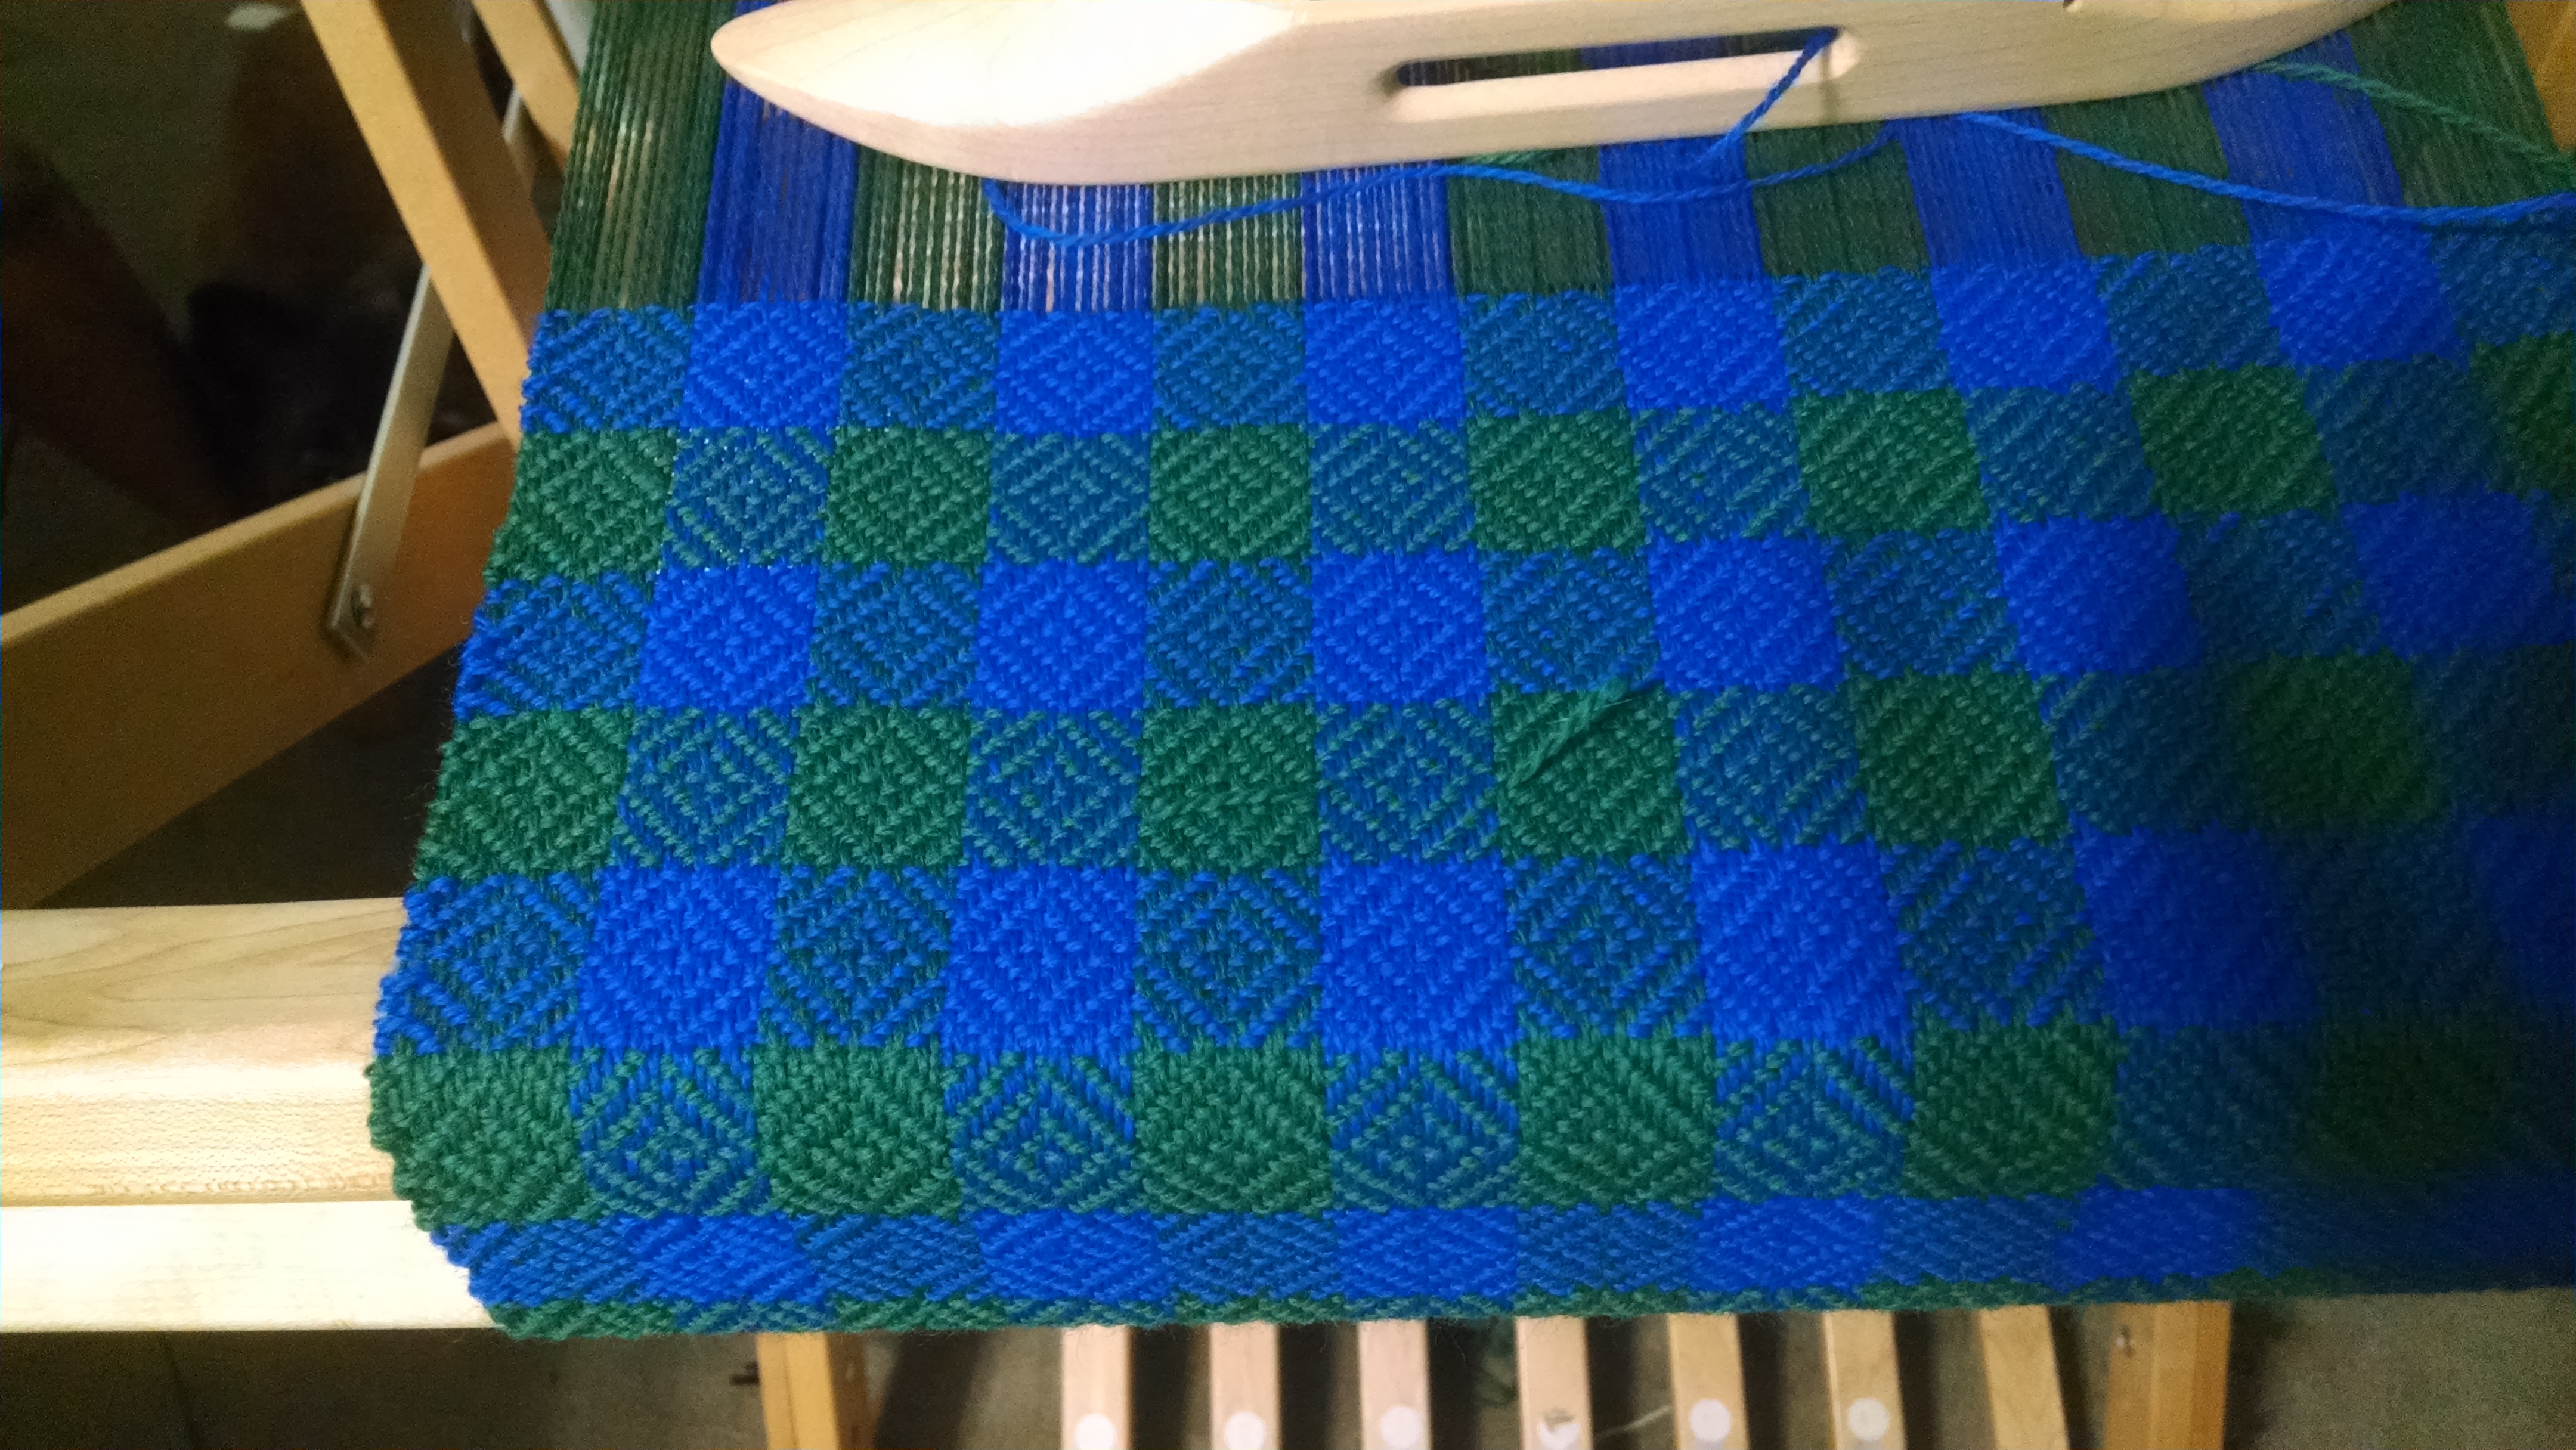
 In the horizontal position, the top two threads are both green. In this position, I will weave another green row regardless of whether I turn forwards or backwards.