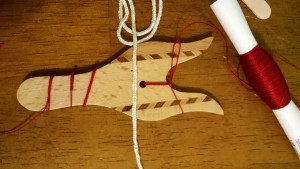
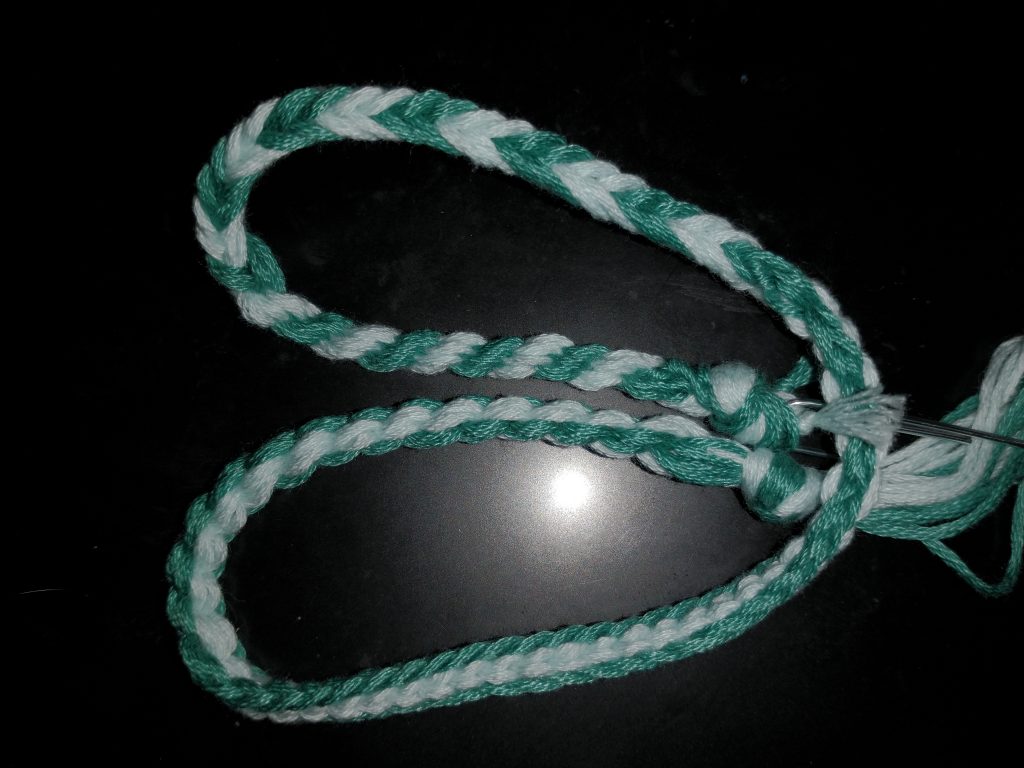
A lucet is used to make a kind of cord; usually lucets have two prongs, and a hole in the body that the cord is pulled through. It’s almost a flattened knitting nelly with only two prongs. The simple lucet technique, then, has the thread going around the prongs in turn, and each time – just as with the knitting nelly – the previous loop is pulled over the top loop. A lot of time is usually spent maneauvering the bottom loop over the top loop and sometimes a crochet hook or similar is used to maneuver the string around. Suffice it to say that the resulting technique is not fast.
 And then yesterday I found a video online – Fastgrab Lucet method – which promised a much faster lucetting experience. The general idea is that you don’t actually place the top loop around the lucet; instead, you hold the lucet in your left hand and the string in your right, much as if you were knitting, and use use your forefinger to scoop up the loop and pull it over the prong, and then turn the lucet clockwise to tighten things; this step is repeated until Court is over, the soccer game ends, you run out of chord, and the kitten eats your bobbin. The important step here is to make sure that the string from the bobbin or cone is in front of the prong, and that you scooped up the loop from beneath. Shades of finger loop braiding in the movement. As you maneuver the loop over the prong, you simultaneously tighten the loop in the center between the two prongs, thus “knitting” one more step.
To be honest, the video linked above shows it better than I can describe it.

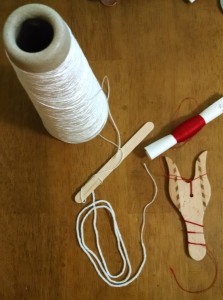
But as you can see in the picture above, because you’re now working with loops in the center of the lucet, where maneuvering is easier (if not always easy) it is possible to use thinner and thinner threads. The white thread is 20/2 silk, and as that was my first experiment, the cording is a little uneven, but that’s well over half a yard, and about 40 minutes work. The red silk is 60/2 silk and while I do have to pay attention to what I’m doing, I’m finding that the cord works up fairly rapidly. For scale, that lucet is 4 inches long and maybe an eighth of an inch thick. This is the thickness of silk I usually use when I’m working on blackwork, or when I’m feeling masochistic and need a tabletweaving project with tiny threads. Admittedly, I’ve gone thinner (120/2) but in both all three of those cases I please momentary insanity that only lasted two years per project.


